

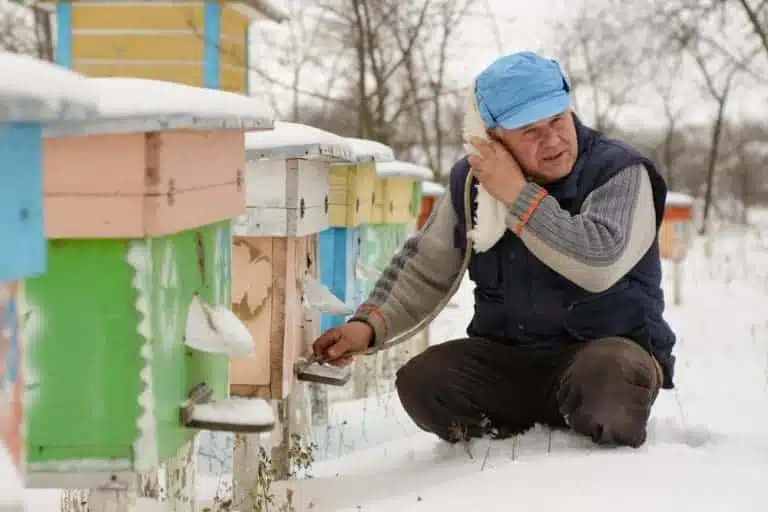
This seasonal guide follows our article on autumn beekeeping. For the rest of the year, see the beekeeping calendar.
Winter stores and cover insulation


Apifonda supplies carbohydrate. The 8 mm felt can be cut to fit the cover. Check stores and the condition of the roof separately, including ventilation and moisture at your site.
Check stores and the cover before bad weather
- Record available feed, consumption and the condition of the roof.
- Check for damp and ensure that the cover fits your hive.
Winter begins in late December on the calendar in Spain, but the colony responds to local weather and forage. A coastal apiary and an upland site can need different things on the same day. Most winter checks can be made from outside the hive. Use a mild spell for any work that genuinely requires opening it.
Winter checks in the apiary
Honey bees overwinter as a cluster. They generate heat where the bees are gathered and, when brood is present, keep that part of the nest warm enough for development. A wintering colony needs enough bees to maintain the cluster and food it can reach while clustered.
1. Match the space to the colony
Remove empty honey supers when they serve no purpose. Where local practice and the hive design allow it, a follower board or an insulating cover over the occupied frames can reduce draughts. Keep the ventilation routes clear.
Brood normally develops at roughly 32–35 °C. The colony regulates the brood area rather than heating every corner of the hive. Protect the space the bees occupy and put unoccupied combs into suitable storage before they become damp or mouldy.

2. Assess weak colonies before considering a union
A colony covering fewer than four or five frames of bees going into winter warrants attention in many Spanish apiaries. Frame size, climate, stores and queen status all matter. A local rule of thumb is a prompt to inspect the cause of weakness, not a universal survival threshold.
If two colonies are healthy but too small to winter separately, uniting them at a suitable time can leave a stronger colony. First establish their queen status and exclude suspected disease. A union can transfer a problem from one hive to another.
3. Check the amount of food left
Heft the hive from behind or track its weight and compare it with previous checks. A marked loss or a very light hive calls for a prompt decision about whether and what to feed.
A field study by Neobeitar in Extremadura associated overwinter survival with at least 3,500 cm² of honey stores. The Spanish guide equates that area to roughly one and a half Layens or Dadant combs or two Langstroth combs. Treat it as an observation from that study. The amount a particular colony needs for the whole winter varies with the site and the length of the dearth.

4. Make sure the cluster can reach the stores
During autumn preparation or a suitable mild spell, check that honey frames are accessible beside the cluster. A small cluster can starve during a cold spell even when there is honey several frames away. Avoid disrupting or splitting a tightly clustered colony.
If stores are short or cold weather lasts longer than expected, solid winter feed can be placed within reach above the cluster, following the product’s instructions. Apipasta Vitamins is one example in our maintenance feed range. Match the feed to the shortage. A colony short of energy needs accessible carbohydrate. Where pollen is scarce, look separately at brood, season and the composition of any supplement.

A colony found dead in late winter may still have honey beyond the reach of its last cluster. Bees head-first in empty cells can be consistent with starvation. Look at the distribution of stores and the history of the colony when assessing a loss.

5. Protect entrances, stands and roofs
Match the entrance to the size of the colony and the risk of pests. Keep it free of dead bees, snow and debris. Check the stand and roof after bad weather.
Look uphill as well as at the hive. Where winter rain could flood the site, carry debris into entrances or cut off access, plan a move to safer ground while conditions allow. At exposed sites secure the roofs and consider a windbreak for a permanent apiary.
6. Manage damp without chilling the cluster
Keep the hive weatherproof and maintain ventilation appropriate to its design. Moisture needs a way out without creating a draught through the bees. If using an insulating cover or “poncho” over frames, check that it leaves the intended ventilation gaps open.

7. Repair equipment while the bees are quiet
Winter is a good time to sort stored combs, repair frames, tension wires and prepare foundation for spring. Clean empty hive bodies and nucleus boxes using methods suited to their material. Set aside suspect disease equipment for advice. Repaint sound equipment early enough for it to dry and air before bees move in.
8. Watch for health problems and prepare for spring
Observe entrances for unusual mortality and keep records of stores, colony weight and weather. If losses look abnormal, speak to the bee health adviser or veterinarian responsible for your area about diagnosis and sampling. For Varroa, follow monitoring results, local authorisations and the product label. Some treatments have a particular place in a broodless winter colony, while others depend on conditions that winter does not provide.
Quiet days also leave time to pack honey, look after customers and prepare next season’s equipment. The most useful winter record is a short one you can compare from visit to visit: which colony was light, what you did and what changed on the next check.


