
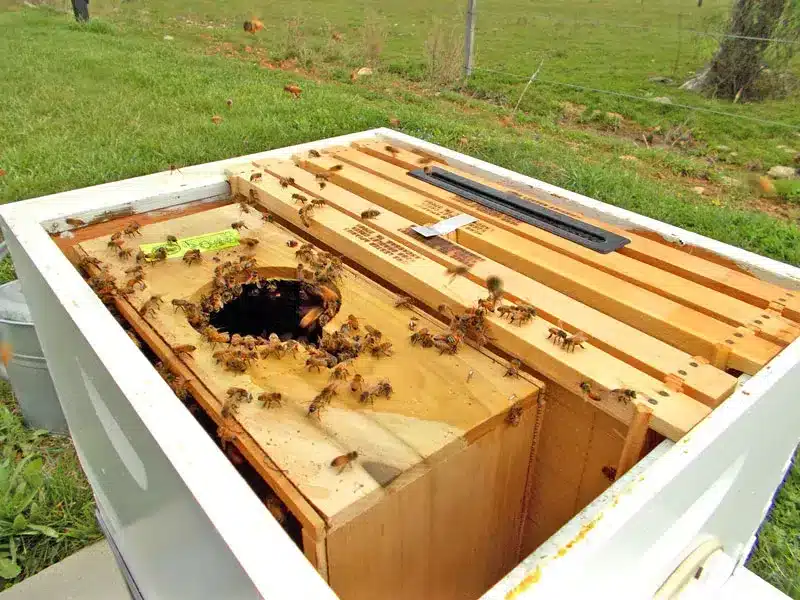
A bee package is an artificial swarm supplied without brood, frames or comb: adult bees and usually a caged queen in a ventilated container. It lets you establish a colony on your own equipment, but it is not a guarantee of freedom from Varroa or disease. This guide explains a no-shake installation method for suitable weather, with an open package inside the hive, controlled queen release and accessible feed.
Installation in seven steps
- On arrival, check the bees, queen and transport feed, and protect the package from heat or cold.
- Prepare the hive, frames, feeder and protective equipment. Keep the package only briefly in suitable conditions if installation must wait.
- Choose suitable weather, often late afternoon. Remove enough frames to fit the package, then carefully retrieve and protect the queen cage.
- Place the package inside with its exit open, allowing workers to move onto the frames. This no-shake method is not suitable for every cold-weather situation.
- Secure the queen cage near the bees with the mesh accessible. Follow the supplier’s candy-release instructions for that cage.
- Provide accessible feed and an appropriate entrance reducer. Do not seal the entrance completely.
- Remove the empty package promptly once the bees have moved out and restore all frames. Check queen release and establishment on an appropriate timetable.
Queen acceptance: follow the supplier’s instructions for the actual cage and the bees’ condition. Keeping a candy cover closed until a fixed third day does not guarantee acceptance.
In this guide
- what a bee package is;
- package or nucleus, and what each should contain;
- how the package arrives;
- initial care and installation;
- why it is done this way, step by step;
- the installation video.
What a bee package is
Bee packages provide a way to increase colony numbers without bringing in another beekeeper’s frames or old comb. Adult bees can still carry Varroa and pathogens. The broodless stage can offer a useful opportunity for appropriate mite control, but do not assume that a treatment was given during packing or that it eliminated every mite. Ask the supplier for the health and treatment history and follow a locally appropriate monitoring programme.
Packages are an established option for starting colonies, particularly in North American beekeeping. Whether they suit your apiary depends on reliable supply, local conditions, equipment and the time available to support a colony starting without brood or drawn comb.
Package or nucleus: what each should contain
Choose a reputable supplier and agree what you are buying. A good nucleus colony should have sound comb, suitable brood and stores, a functioning queen and enough healthy workers. Inspect what you receive and ask about bee health and treatment history. Dark comb alone does not prove disease, and new equipment does not make a package disease-free.
| Comparison | Bee package | Nucleus colony |
|---|---|---|
| What it includes | Adult bees and usually a caged queen; transport feed | A small colony on frames, with a queen, brood and stores |
| Brood | None | Present in a functioning nuc |
| Comb and frames | Not supplied; the beekeeper provides them | Included; inspect condition and compatibility |
| Varroa and disease | Still possible on adult bees; check history and monitor | Still possible; check brood, bees and health history |
| Establishment | Needs to establish comb and rear its first brood | Already has drawn comb and developing brood |
| When it may suit | Starting on your own equipment and foundation | Starting with an established small colony |
A package can suit newly prepared hives when you want to start on fresh foundation. A healthy nuc can instead provide a head start with drawn comb and developing brood. Match the choice to your experience and the local season.
The package
Packages may be collected from the supplier or delivered by a carrier that accepts live bees. Designs vary, but ventilation, a transport food supply and a secure queen cage are important. The photograph below shows one way of transferring bees; the no-shake method described here is a different option.
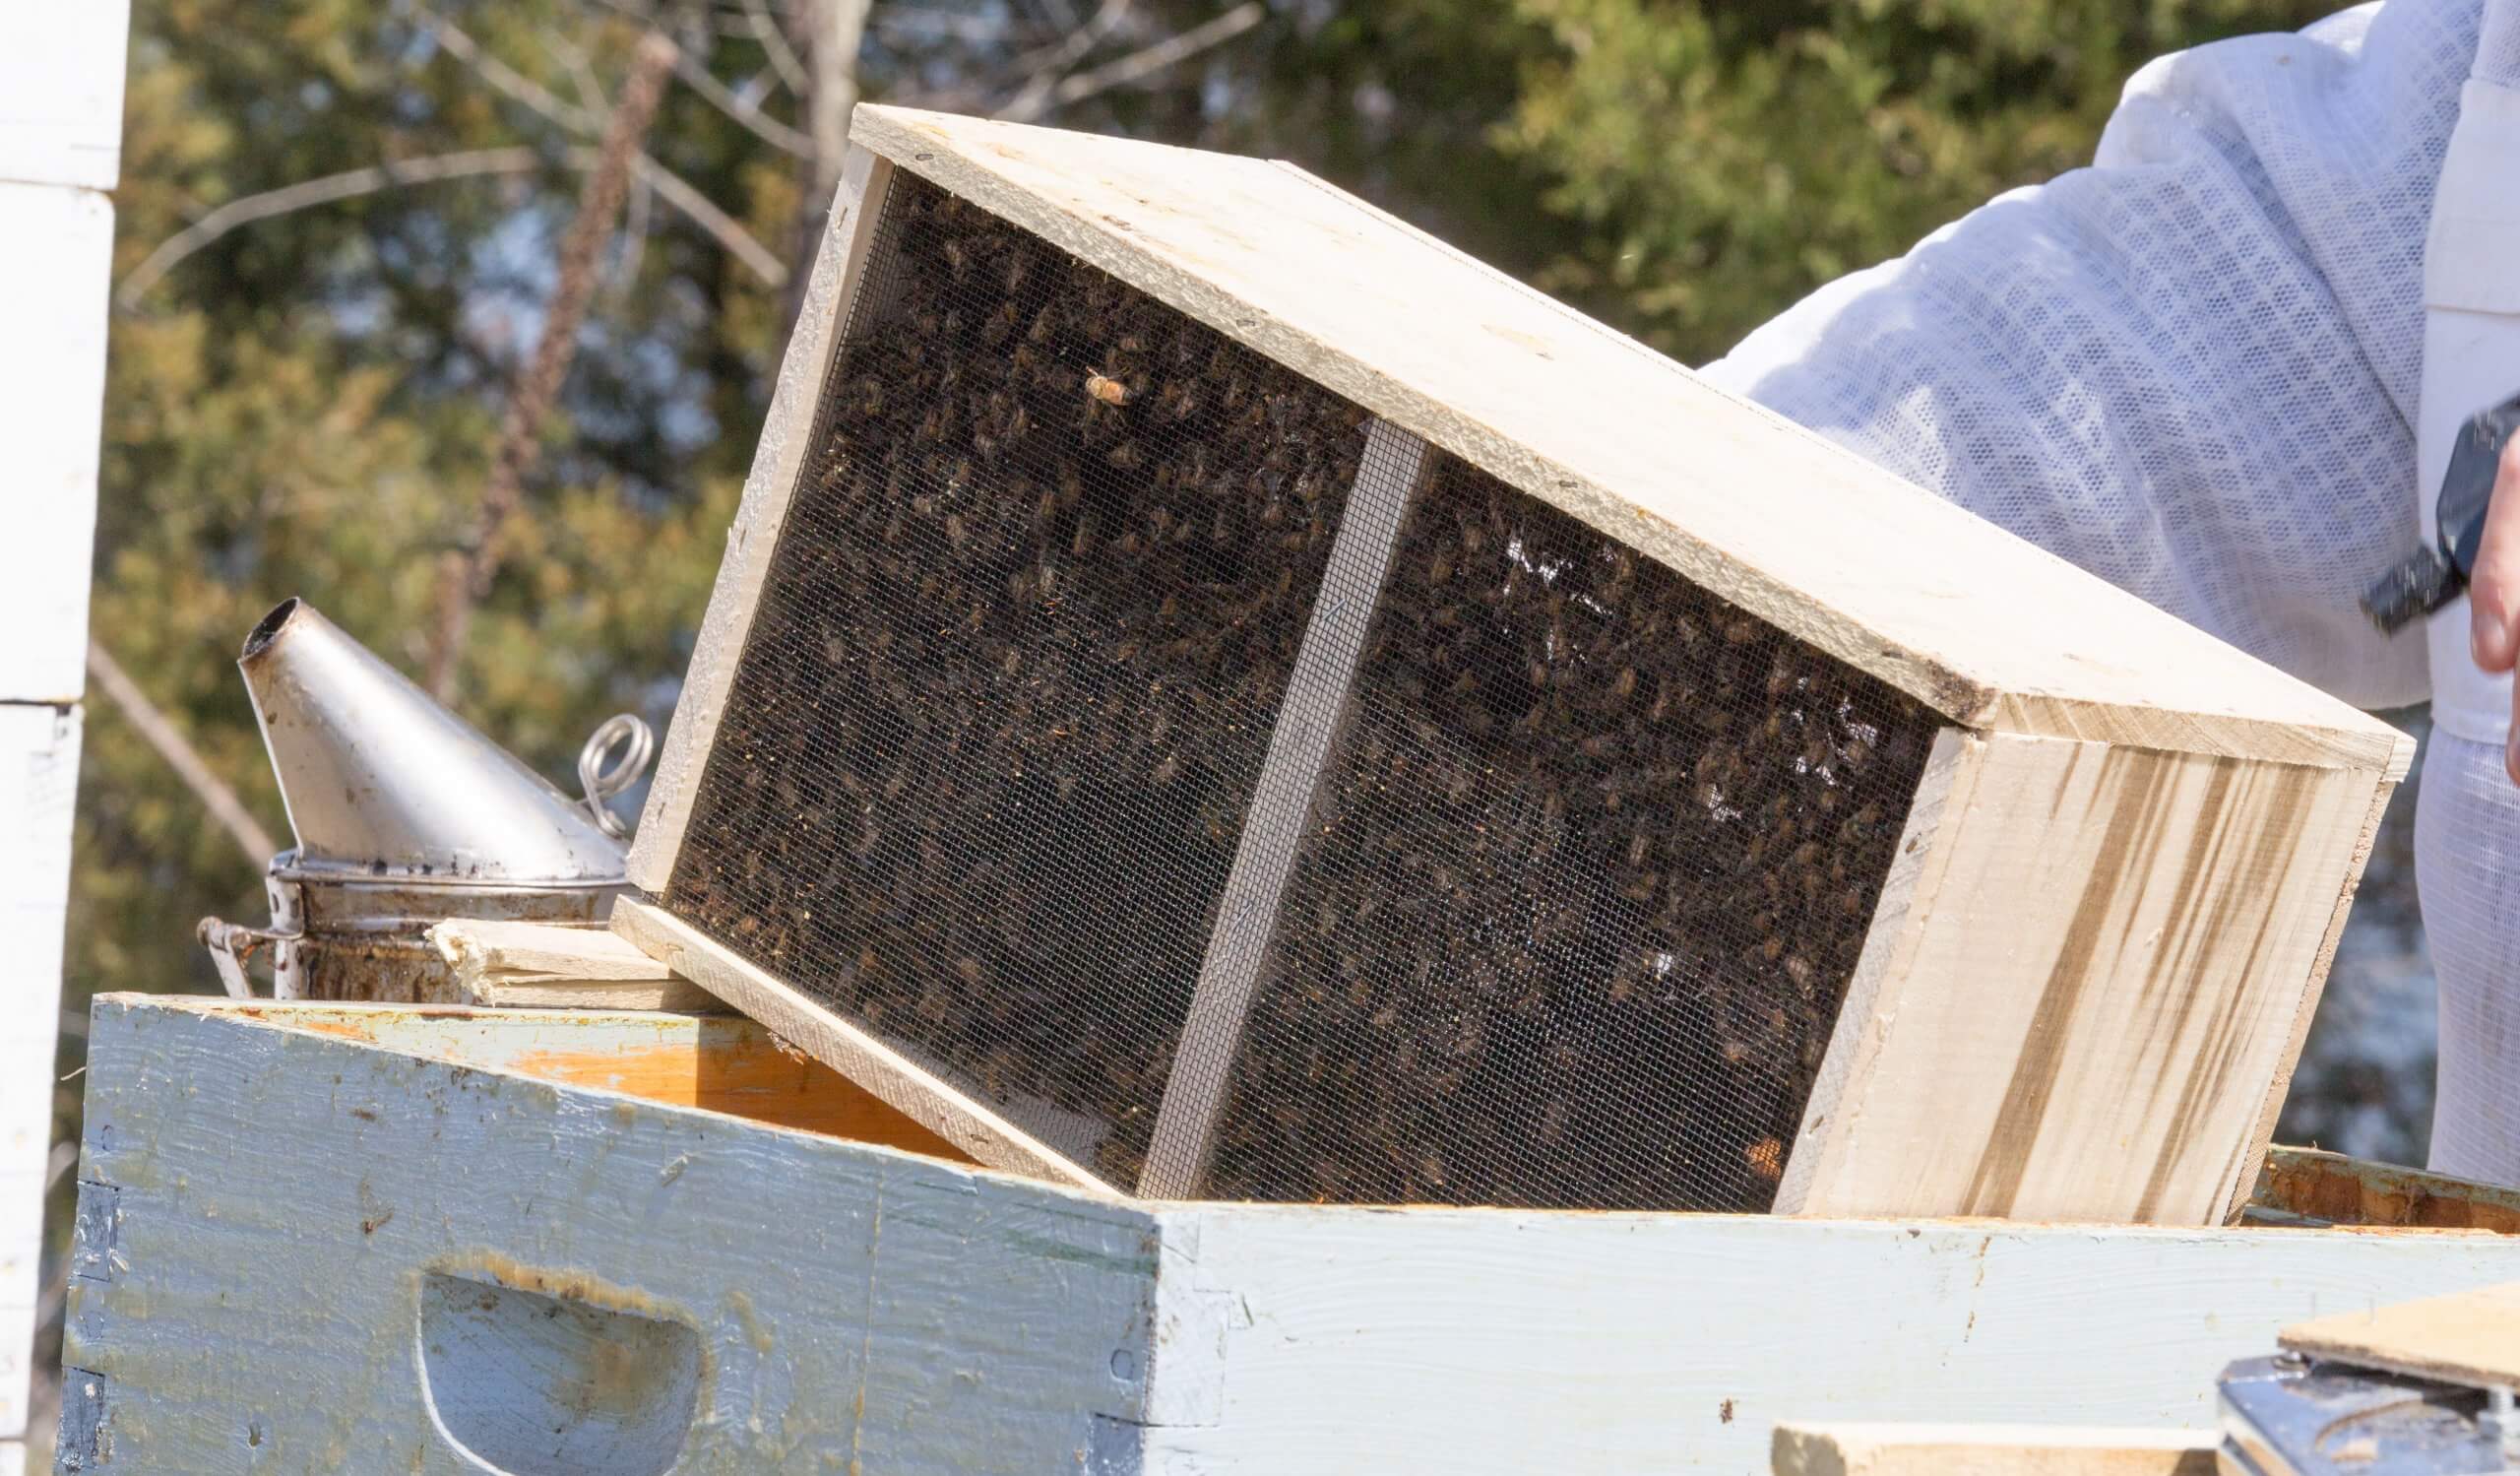
Have the hive, frames, feeder and protective equipment ready before the bees arrive, so that installation is not delayed while you assemble equipment.
Initial care
The first priority is careful handling and protection from overheating or chilling. Check the package and transport feed on arrival. If installation must wait, follow the supplier’s holding and feeding instructions. Where a light syrup spray is appropriate, avoid soaking the bees; a fixed 100 g of sugar per litre is not a universal care protocol.
Keep the package briefly in a quiet, shaded, well-ventilated place at a suitable temperature. Do not leave it in direct sun or a hot vehicle. Install as soon as conditions allow; do not postpone simply to reach dusk if doing so exposes the bees to worse weather.
A light syrup spray can help reduce flight during handling, but it is not needed in every situation. Cold bees can be chilled by spraying; the University of Minnesota’s cold-weather guidance advises little or no spray in those conditions. Do not use repeated wetting as a general cooling method or as a guarantee of group cohesion.
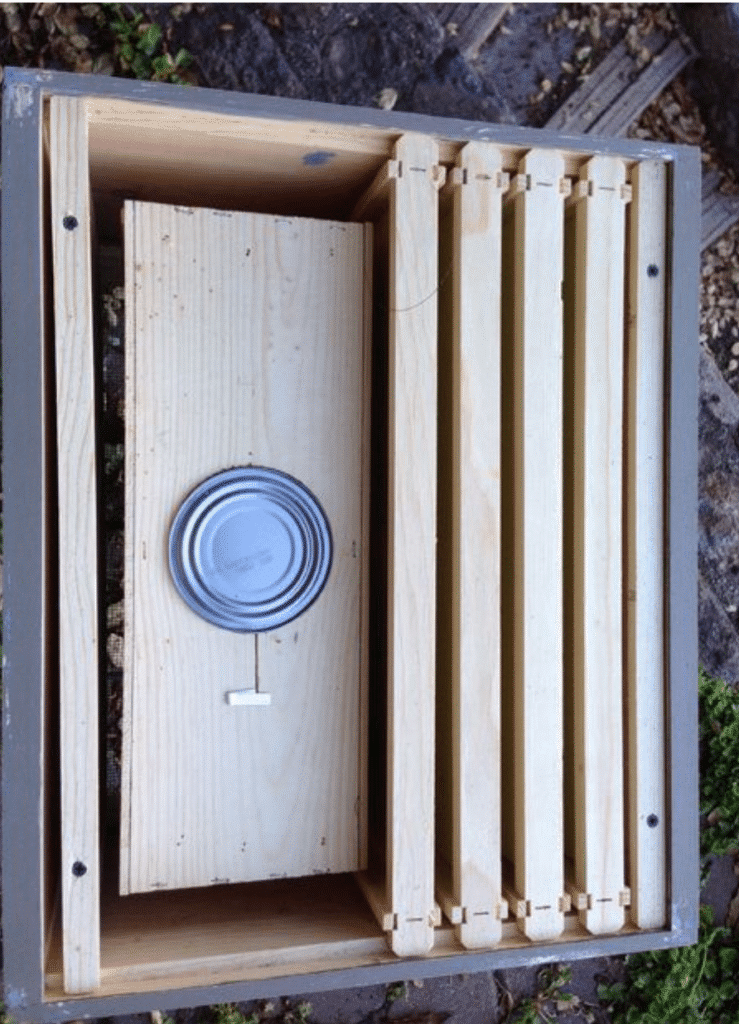
For a Langstroth or Dadant hive, the no-shake approach needs space for the package without crushing bees. Remove only the frames necessary to fit it. Carefully remove the transport feeder and queen cage according to the package design, protecting the queen while you work. Place the package inside with its exit open and unobstructed, so workers can leave it and reach the queen and frames. A sealed package left in a hive is not an installation.
Handle the queen cage gently and check that the queen is alive. Keep her protected from cold, sun and accidental escape; workers may be clustered around the cage, as in the photograph.
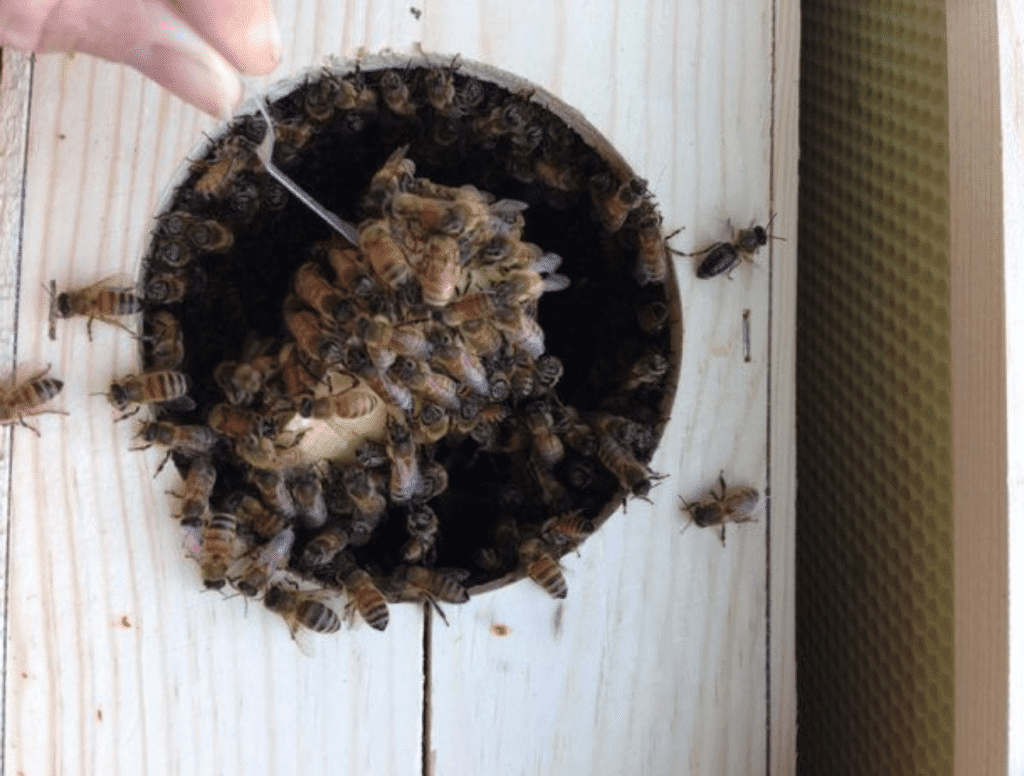
Secure the queen cage beside the settling bees, with its mesh accessible and no risk of it dropping between foundation-only frames. For a candy-release cage, expose the candy end as instructed by the supplier; do not accidentally open the direct-release end. Fit an appropriate entrance reducer without completely blocking flight or ventilation. Provide liquid bee feed in a suitable, accessible feeder, protected against leakage and drowning, then close the hive carefully.
No single release timetable suits every cage, package and temperature. Check the supplier’s instructions, keep the queen within reach of the workers and seek experienced help if she is not accepted or remains trapped.
Why it is done this way
Late afternoon can reduce flight during installation in suitable weather, but timing alone does not ensure that bees stay. In the no-shake method, the open exit lets workers move towards the queen. The candy-release arrangement gives them time to settle; its success still needs checking. In cold conditions, use a locally validated cold-weather method rather than leaving bees unable to reach their queen or feed.
Supplementary feed supports the work of drawing comb when forage is insufficient. Use a suitable feeder near the bees and check consumption without spilling syrup or encouraging robbing. Adjust feeding to weather, stores and progress, rather than assuming the same duration for every package.
Once the bees have left the package, remove the empty container promptly and replace the missing frames with correct spacing, before unwanted comb develops in the gap. Check queen release on the supplier’s timetable and remove the cage only when it is empty. At a suitable early inspection, look for drawn comb and signs of laying; persistent problems need assessment, not repeated disturbance.
As the bees settle and start drawing comb, the hive may look like the example below. Progress depends on weather, food, queen performance and bee health; activity alone does not prove successful establishment.
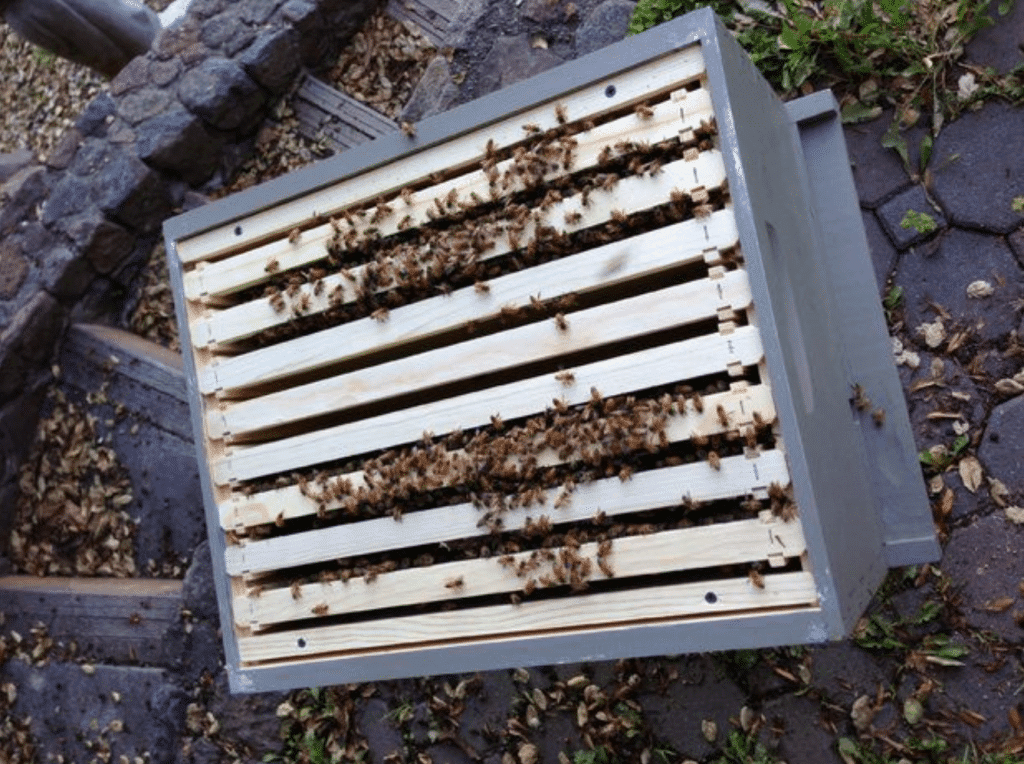
From this point, follow normal colony management: check food, queen performance and brood development, monitor Varroa and keep records. Neither the package format nor successful installation removes the need for continuing care.
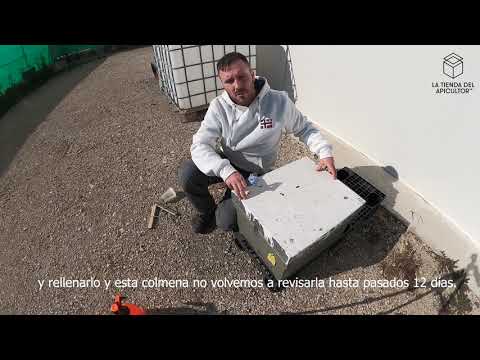
Video: installing a bee package
The original video illustrates a handling method. Use the safeguards in this guide and the instructions for your own package; it is not a universal protocol for every cage or climate.
Frequently asked questions
What is a bee package?
It is a group of adult bees, usually supplied with a caged queen and transport feed in a ventilated container. It has no brood, frames or comb; the beekeeper provides the hive equipment.
What is the difference between a bee package and a nucleus colony?
A nucleus colony includes frames with drawn comb, brood and stores. A package starts without these and needs support while becoming established. Both can carry mites or disease, so supplier quality and bee-health checks matter.
When should a bee package be installed?
Install promptly when conditions are suitable. Late afternoon can reduce flight, but do not wait for dusk if colder weather would put the bees at risk. Seek local guidance for cold-weather installation.
Should the package be sprayed with sugar water?
A light spray can reduce flight during handling in suitable conditions, but avoid soaking the bees. Little or no spray may be appropriate in cold weather. Follow the supplier’s holding and feeding advice.
When is the queen released?
For a candy-release cage, follow the supplier’s instructions and check that the queen is released and accepted. There is no universal third-day rule. Cage design and conditions matter; seek experienced help if release is delayed.
Should the package be fed after installation?
Provide suitable accessible feed while stores and forage are insufficient, especially when bees are drawing foundation. Check consumption and progress, prevent leaks and drowning, and adjust feeding as the colony establishes.
Continue reading
- How to become a beekeeper, if this is your first apiary.
- How to choose the site before the bees arrive.
- Expanding the apiary, if you want to make your own colonies.
- Feeding bees, essential during the first few weeks.
Some linked shop pages and related articles above are still in Spanish. Further guidance: Penn State’s installation demonstration, Texas A&M’s comparison and installation guide, University of Minnesota cold-weather guidance and Varroa integrated pest management.

ISNI 0000 0005 1801 1100 | Joshua Ivars is the manager of LA TIENDA DEL APICULTOR and the author of this blog, where he shares technical and practical guidance for beekeepers. Drawing on extensive experience in the beekeeping sector, he offers advice and solutions based on beekeepers’ real needs, sharing his knowledge of equipment and essential beekeeping practices.


