
Beeswax and its properties
Beeswax is the material honey bees use to build their comb. Worker bees secrete it from wax glands on the abdomen. It is not simply a cooking fat: FAO’s beeswax specification describes a mixture that includes wax esters, hydrocarbons and free fatty acids. Our beeswax range offers different forms for different uses.
Besides beekeeping, beeswax is used in cosmetics, wood polishes, waxed thread and many other products. Candle making is one of its best-known uses, and there are three accessible ways to try it: rolling sheets, pouring into moulds and dipping wicks.

Natural yellow beeswax is valued for its colour and characteristic aroma, although both vary with the wax and its processing. It is solid at room temperature and typically melts over a range of about 62–65°C, rather than at one exact temperature. That is higher than most paraffins, so a beeswax candle copes better with warm rooms and is less likely to bend in summer. Size for size, it also burns more slowly than a paraffin or other synthetic-wax candle, although burning time still depends on the wick and how the candle is made. It needs no added fragrance: its honey scent comes from the wax itself.
Do not treat a beeswax candle as an air purifier. The claim that it cleans indoor air by releasing negative ions is not a sound basis for using it. The US Environmental Protection Agency identifies candle burning as a source of indoor particles. Enjoy the light and aroma, with ventilation and normal candle-safety precautions.
Below are the materials and steps for each method. Choose a candle wick intended for beeswax and the finished candle diameter, then test a sample before making a batch.
Rolled beeswax sheet candles
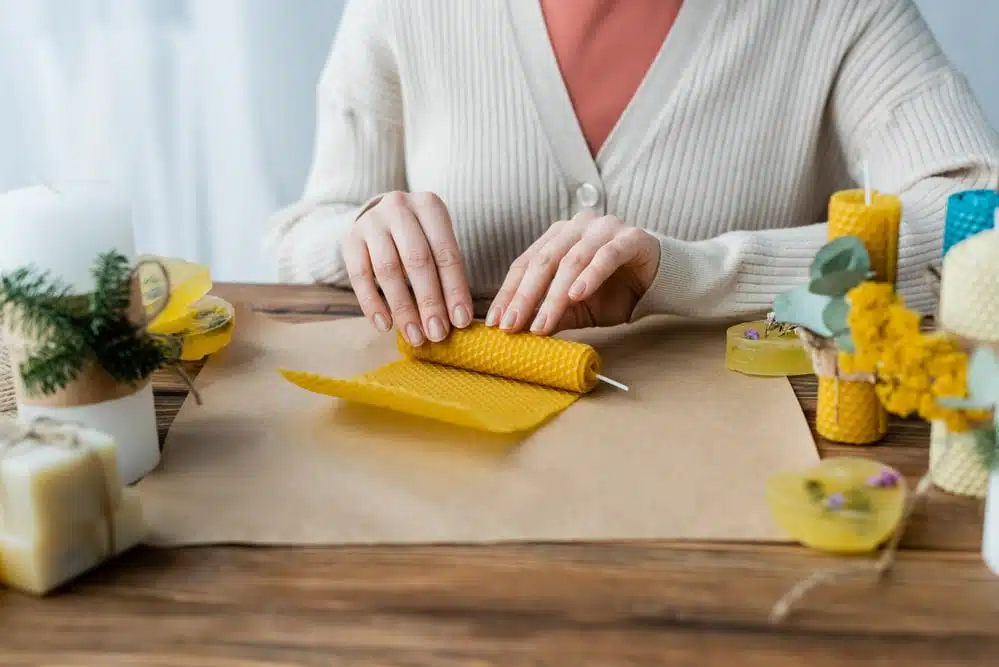
Rolling a sheet is the simplest starting point because you do not need a pot of molten wax. Choose clean, unwired beeswax sheets suitable for candle making, rather than assuming any old foundation from a hive is ready to use.
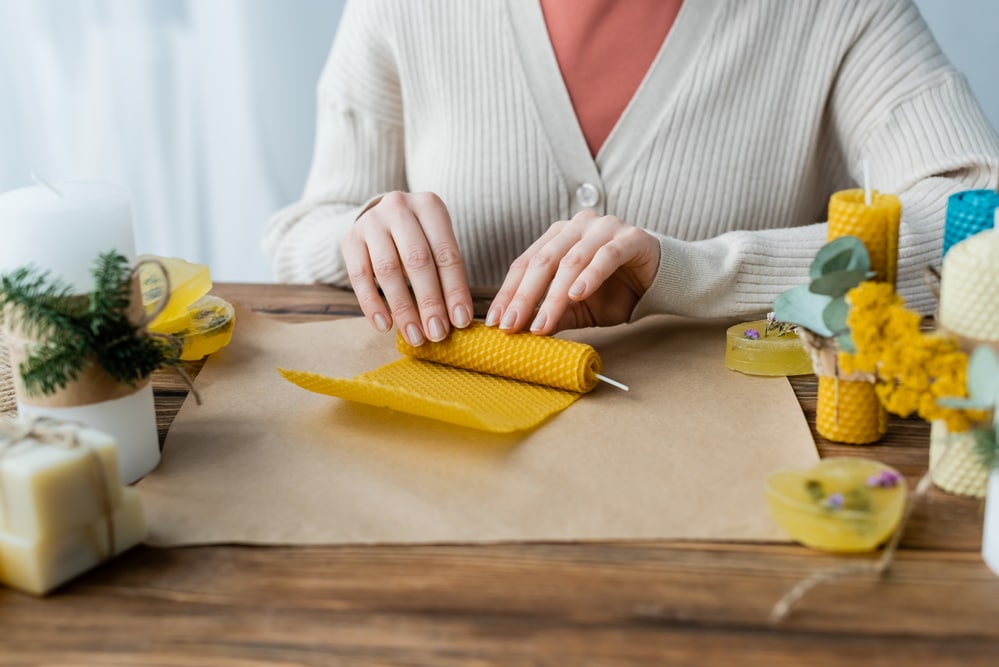
Materials for rolled candles
- Unwired beeswax sheets suitable for candles
- Cotton candle wick sized for beeswax and the finished diameter
- A hairdryer for gentle warming if the sheets are stiff
- Optional: decorative bees for display only; remove before lighting
How to roll a beeswax candle
First choose the sheet dimensions. The edge carrying the wick sets the candle’s height; the length you roll up helps determine its diameter. Choose the wick for that finished size, not just the height of the sheet.
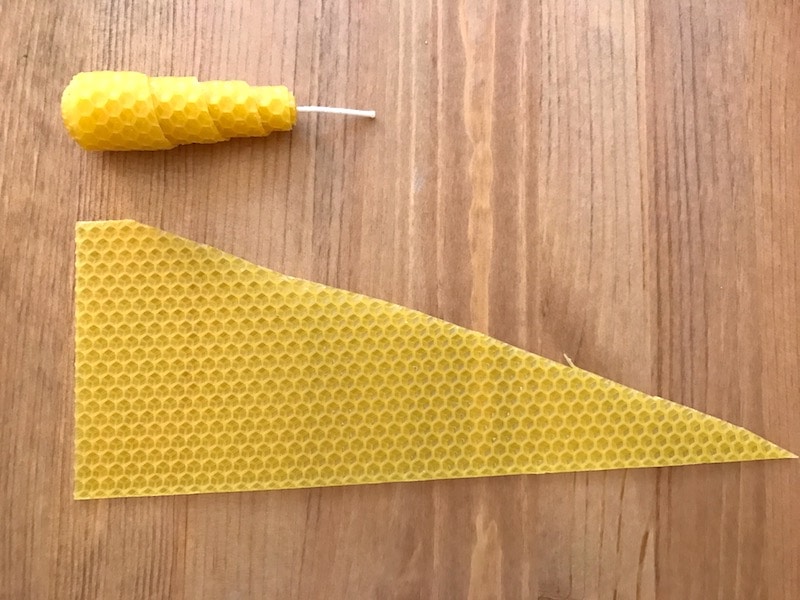
A square or rectangular sheet makes a candle of fairly uniform thickness. Cutting the sheet into a triangle, as shown above, produces a tapering shape when rolled from the appropriate edge. Make the base level so the finished candle can stand securely in a suitable holder.
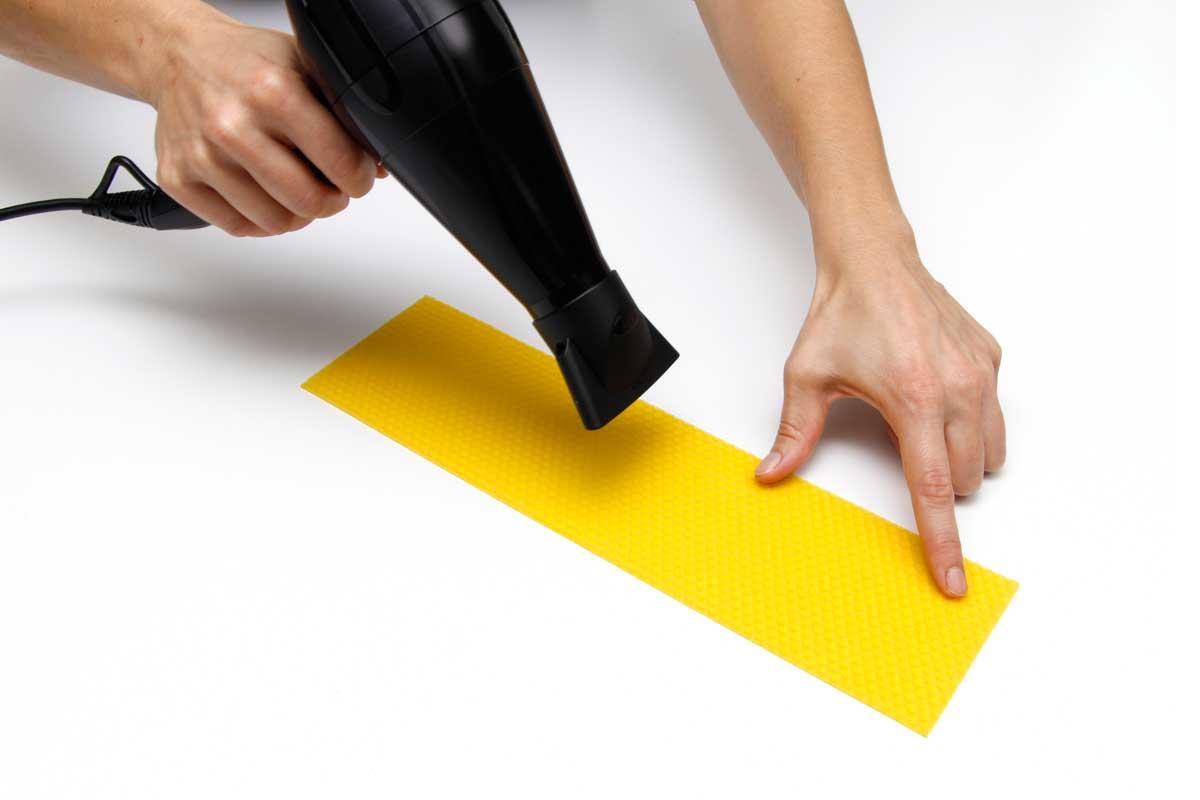
Gently warm a stiff sheet until it bends without cracking. This is particularly useful in a cold room. A hairdryer on a gentle setting can help: keep it moving and stop once the sheet is pliable, before it melts or becomes too hot to handle.
Lay a length of wick along the starting edge, with enough left projecting at the top. Fold the wax closely around the wick, then begin rolling evenly. Keep the wick in position as you work.
Leave some wick above the top of the candle so it can be trimmed before lighting. Do not bury the end inside the roll.
If the remaining sheet stiffens, warm it gently again in short passes. The right amount depends on the room, sheet and hairdryer; a fixed one-to-two-minute heating time can overheat a thin sheet.
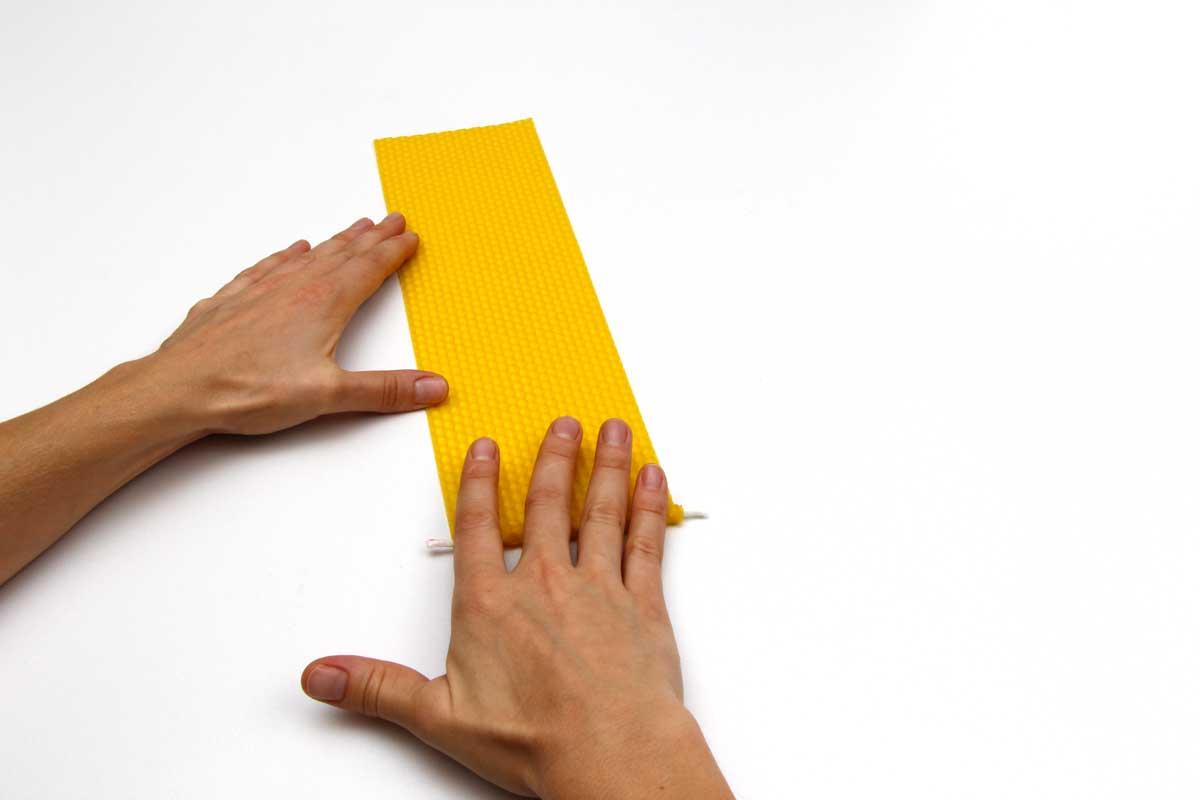
Continue rolling with even, gentle pressure until the sheet is used up. Press the seam to secure it. You can add another sheet to increase the diameter, but that also changes the wick requirement and burning behaviour; test the completed design rather than assuming one wick suits every thickness.
Decorating rolled candles
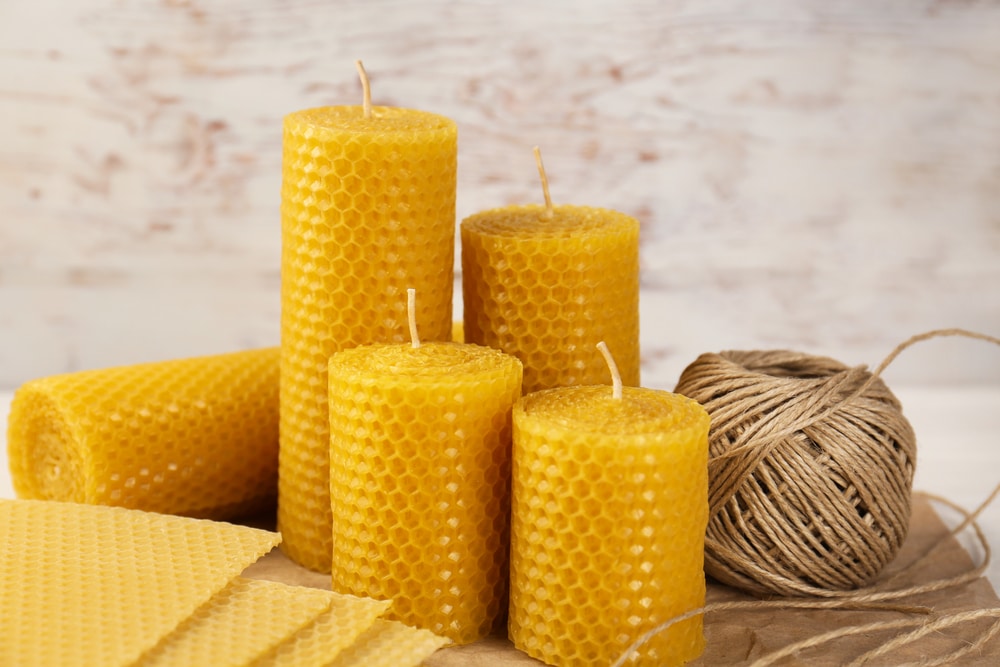
Use the sheet shape and wax colours for variety. Small wax decorations can also change how a candle burns. Plastic bees, ribbons and similar ornaments are display decorations to remove before lighting, not things to leave beside a flame or in the melt pool. The National Candle Association’s tests of botanical candles found a fire hazard when combustible additions entered the pool. Do not embed dried flowers or leaves in a candle you intend to burn.
Moulded beeswax candles
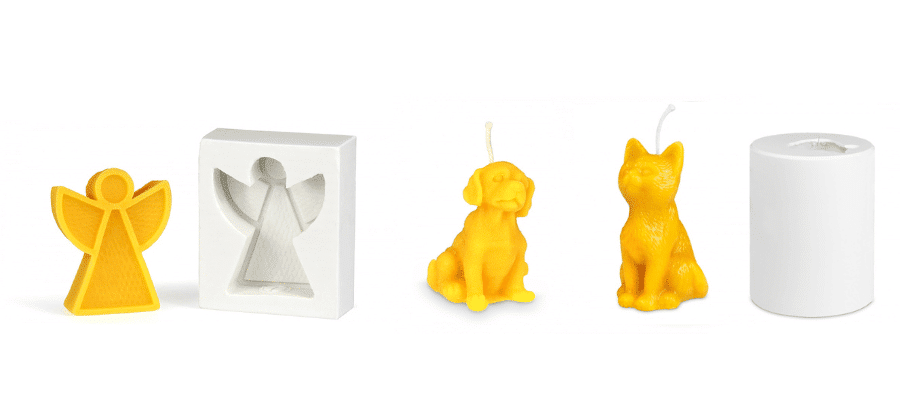
Moulding gives you shaped candles, from simple pillars to detailed figures. It involves hot wax and needs a suitable mould, a centred wick and patient cooling. Prepare the work area and mould before heating the wax.
Materials for moulded candles
- Beeswax blocks or beeswax pellets
- Cotton candle wick sized for the mould and beeswax
- Silicone candle moulds
- A wick holder
- Suitable wax-melting equipment: a water-bath pot or purpose-built controlled melter, plus a suitable thermometer and heat protection
- Optional: candle colour products, candle fragrance or a candle-specific finish, only where the supplier permits it for the intended use
How to make moulded candles
Melt the wax with controlled, indirect heat. For small batches, use an appropriate wax-melting pot in a water bath, or a purpose-built electric wax melter according to its instructions. Do not place a pan of wax directly over a flame. Bees for Development’s candle-making guide describes double-boiler melting. Monitor the temperature with a thermometer, because above 85°C beeswax starts to darken. Keep water out of the wax and never leave heating wax unattended.
Sheets, blocks or pellets can all supply the wax. What matters is its condition and suitability: use clean, filtered beeswax with no water, debris or unknown additives. Purity alone does not make dirty recovered comb ready for a candle mould.
Set the silicone mould on a stable, heat-resistant surface. It should be clean and dry. If it has a slit or joins, secure it exactly as its maker specifies so liquid wax cannot leak out; do not improvise with an unsuitable container.
Thread the wick through the mould’s intended opening and fix it at the top with a wick holder. Keep it straight and central, without pulling so hard that the mould distorts. Check the seal and support before you pour.
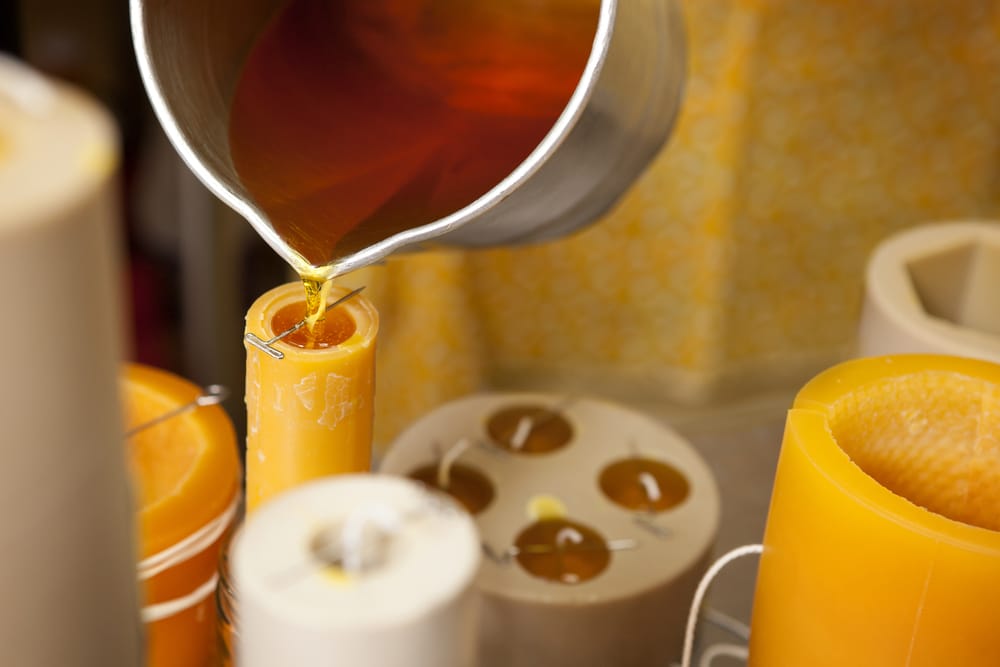
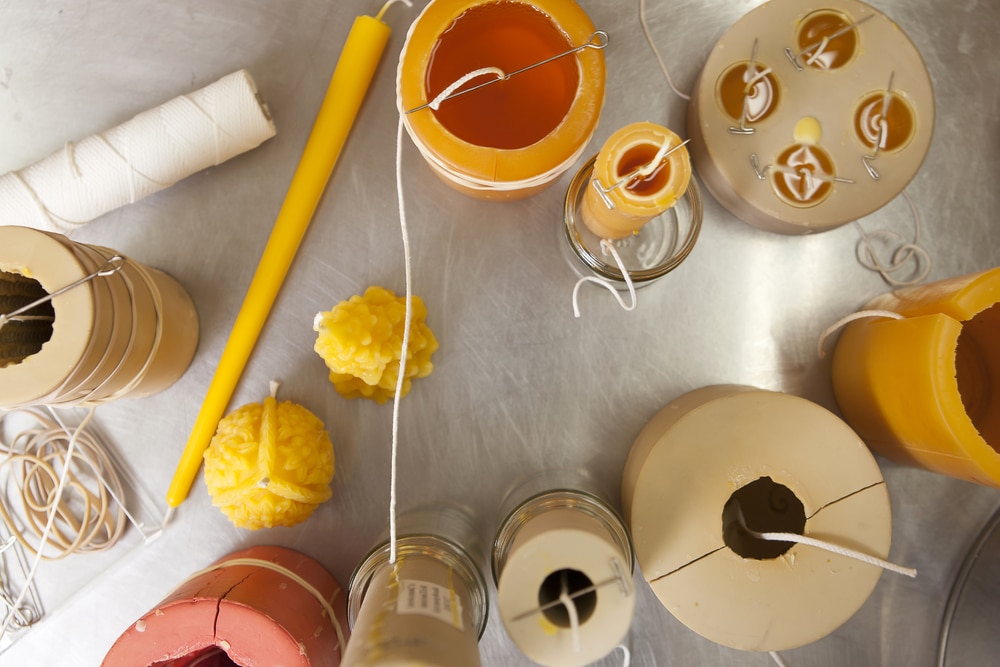
Pour the wax at 70–75°C, slowly and carefully, using a suitable pouring jug or ladle. The melting range is not a pouring temperature: cooler wax starts to set as soon as it touches the mould and leaves lines on the surface. Protect your hands from hot equipment and spills. Avoid knocking the wick off centre, and follow the mould instructions if a small top-up is needed as the wax contracts.
Leave the mould undisturbed on a level surface while the wax cools and solidifies; it is setting, not drying. Avoid sudden cooling. Once fully cool, gently peel the silicone away and support delicate parts as you release the candle. Do not pull it out by the wick or rush a thin protruding detail.
Hand-dipped beeswax candles
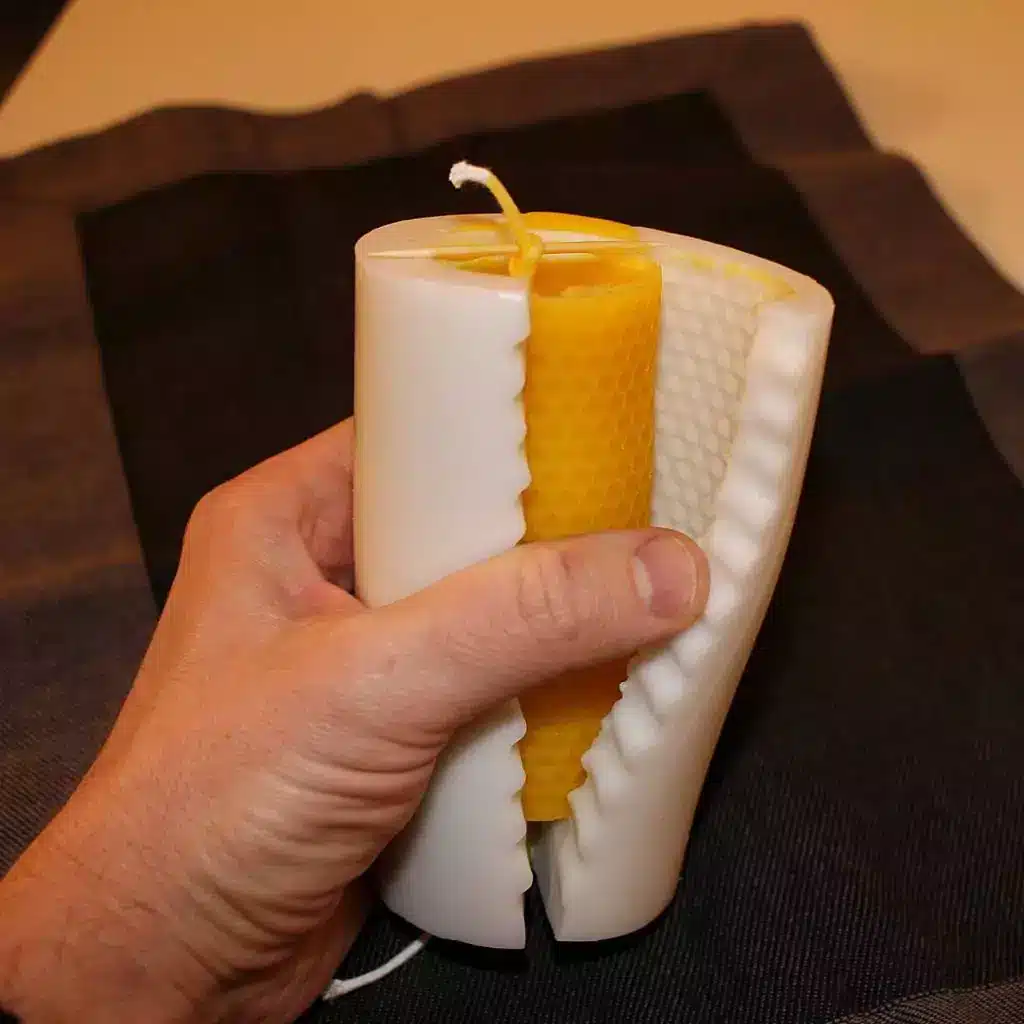
Dipped candles are built up by repeatedly lowering a wick into liquid wax and letting each coating set. This method is particularly useful for slender tapers. It needs enough wax depth, room to hang the candles and careful control of the hot container.
Materials for dipped candles
- Beeswax blocks or beeswax pellets
- Cotton candle wick sized for the finished taper
- Suitable melting and dipping equipment: water-bath pot, electric melting kit or 12-litre wax melter, used within its instructions
- A dipping rack or secure wooden support with space to hang the candles
- Optional: candle colour products, candle fragrance or a candle-specific finish, only where the supplier permits it for the intended use
How to dip beeswax candles
Melt the wax using the same controlled, indirect heating method described above, or an approved dipping melter, without letting the wax go above 85°C. Choose a container deep enough for the intended candle length and leave headroom: the liquid level rises when wicks and growing candles are lowered into it.
Cut the wick longer than the finished candle, allowing extra for attaching it to a support and trimming. Suspend it from a purpose-made dipping rack or a securely supported wooden bar. Space the wicks so that the candles will not touch as layers build up.
Lower the wicks into the liquid wax, keeping the support and your hands clear of it. Lift them out smoothly and let excess wax drip back safely into the container. Hang them to cool before the next dip; immersion time and cooling interval depend on the wax and equipment. Keep the dipping wax at 65–70°C, a little cooler than for moulding: hotter wax melts off part of the previous coat and the candle barely grows.
Repeat to build up an even thickness. Keep the wicks straight and allow each layer to set; repeatedly holding the growing candle in hot wax can melt off the previous coating. When the desired diameter is reached, let the candles cool fully and finish the base so they fit their holders securely.
The original Instagram example below shows the wooden-bar approach. It is credited to ICICLE. If Instagram does not display the reel, use the accompanying link; the written steps above remain available without signing in.
Watch the original candle-dipping reel by ICICLE (@icicle__official)
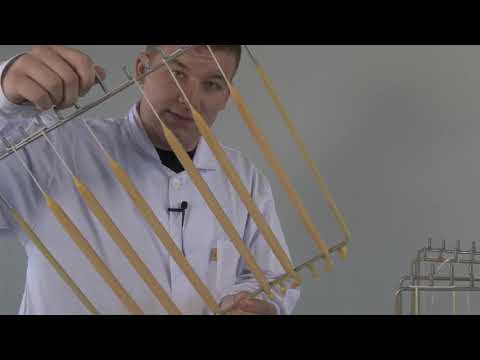
The original video below shows a larger dipping arrangement with a professional rack and high-capacity wax melter. It starts at 68 seconds. The equipment example is not a substitute for the instructions for your own melter.
Colour and finishing touches
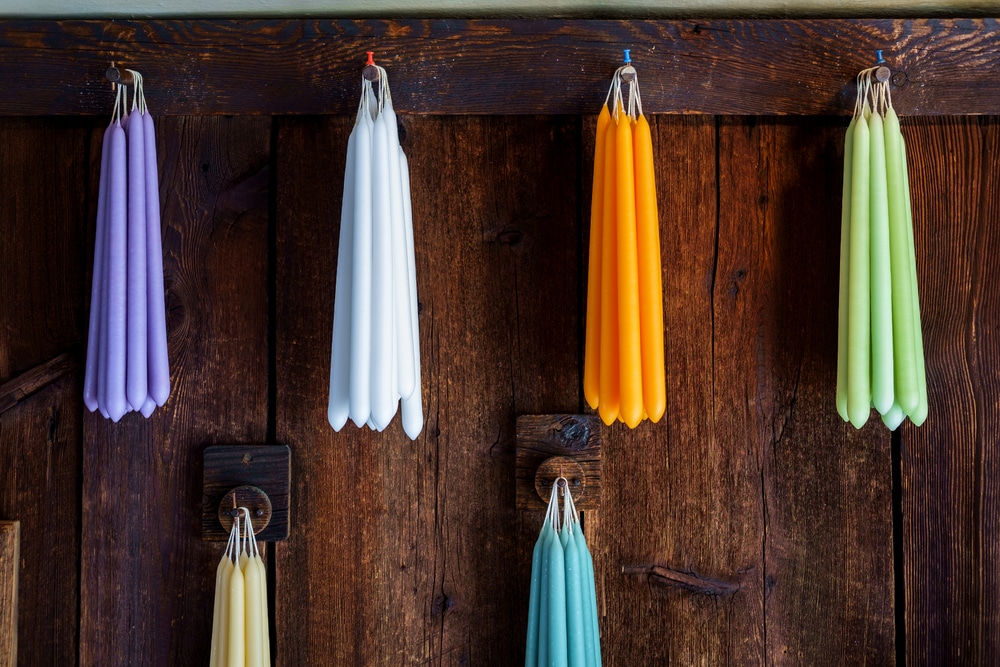
For colour effects, use only a coating specifically intended for candles and follow its permitted use. A surface finish is not automatically suitable for mixing into the wax. Test any change to colour, fragrance or finish; ordinary craft paint or furniture varnish should not be substituted.
Before lighting your finished candle
Follow the National Candle Association’s fire-safety guidance: use a stable, heat-resistant holder, keep the flame away from combustible materials, children and pets, and never leave it unattended. Trim the wick before lighting; its general guidance is about 6mm. Keep the area ventilated without a draught disturbing the flame. Do not move a candle while its wax is liquid or use water to extinguish it.
Check a sample of your finished design under supervision before making more. If the flame becomes unusually large, smokes heavily or the candle behaves unstably, extinguish it and let it cool before assessing the wick and construction. A decorative result still needs to function safely as a candle.

ISNI 0000 0005 1801 1100 | Joshua Ivars is the manager of LA TIENDA DEL APICULTOR and the author of this blog, where he shares technical and practical guidance for beekeepers. Drawing on extensive experience in the beekeeping sector, he offers advice and solutions based on beekeepers’ real needs, sharing his knowledge of equipment and essential beekeeping practices.


