
-
Beehives
- Complete beehive
- Accessories
-
Nuc hives
- Nucs by format
- With bees & mating
- Spare parts
-
Bee equipment
- For the apiary
- For the beekeeper
-
Clothing
- Clothing Accessories
-
Beeswax
-
Pure beeswax
- Beeswax and foundation
- Beeswax foundations
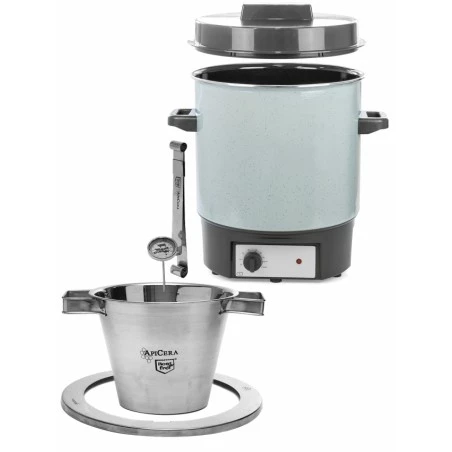
- Melting and rolling beewax
-
Pure beeswax
-
Bee feed
- Accessories and source materials
- Utensils
-
Bee health
- Varroa Treatments
- Diseases control
- Nutraceuticals
-
Extraction and bottling
- Before extraction
- Honey extraction
- After extraction
-
Bee pollen
- Harvest
- Indicted
-
Honey packaging
- Flasks per utility
- Flasks by size
- Other packaging
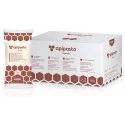 Apipasta with vitamins 15kg
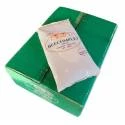 Beecomplet® Spring 14Kg
 Beekeeper suit with round veil
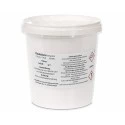 Oxalic acid 1kg
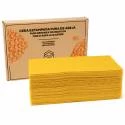 Beeswax Foundation 5kg
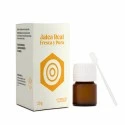 Fresh royal jelly 20g
 Classic honey jar 1kg comb-lines TO77 - Pack of 16 units
 Promotor L Apis 1 litre
Candle moulds
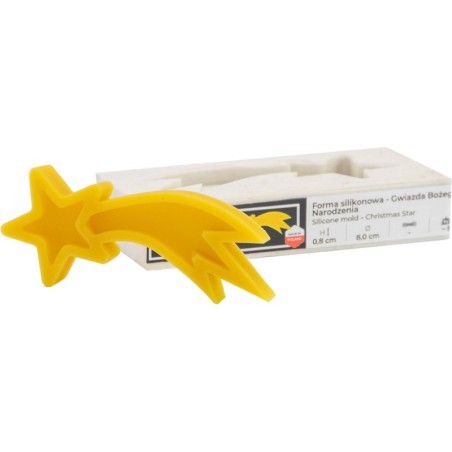
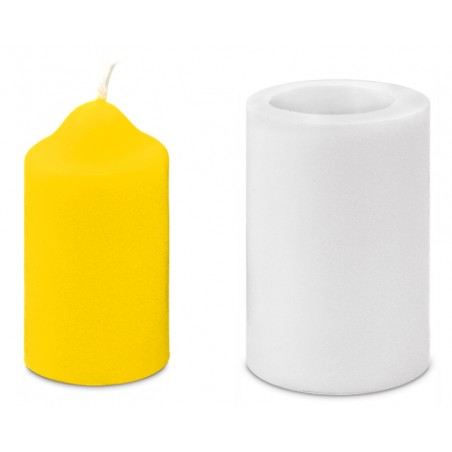
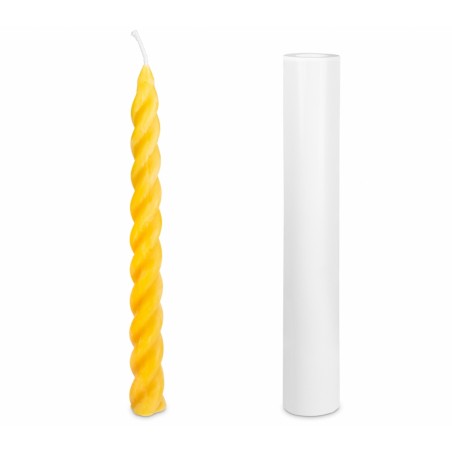
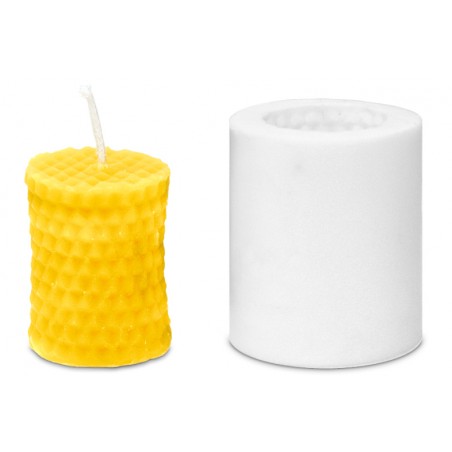
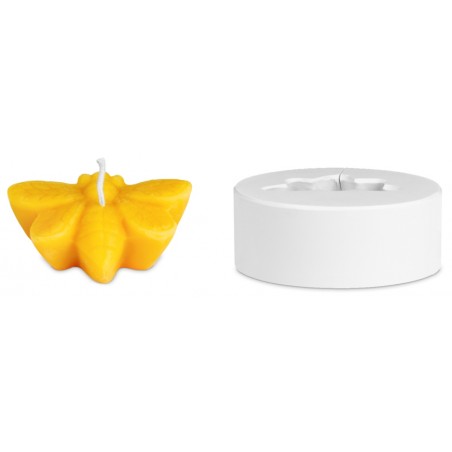
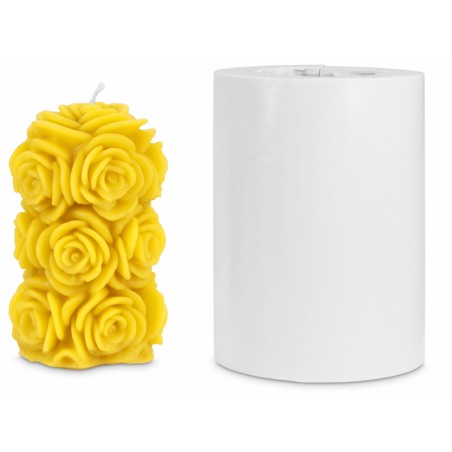
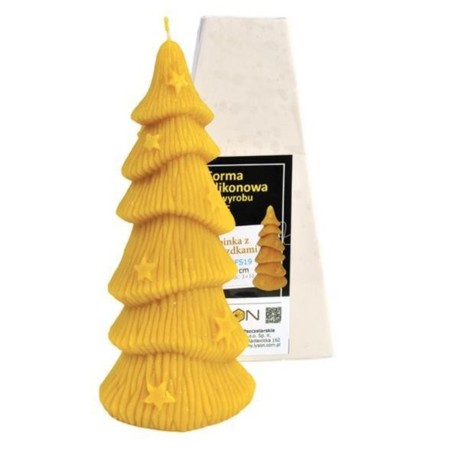
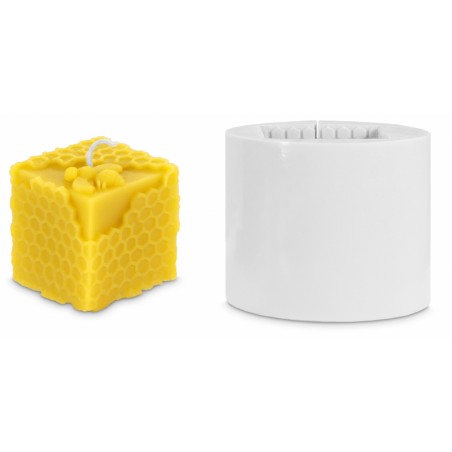
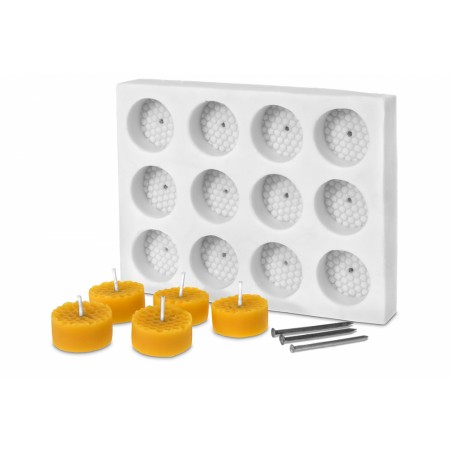
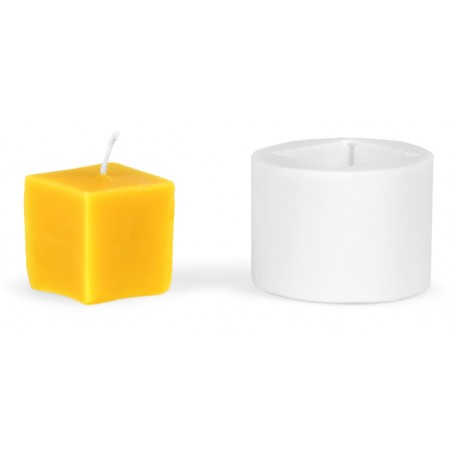
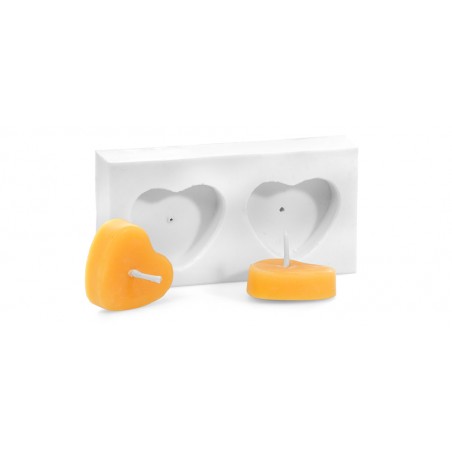
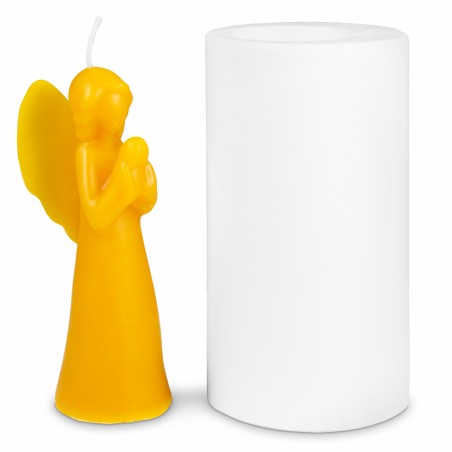
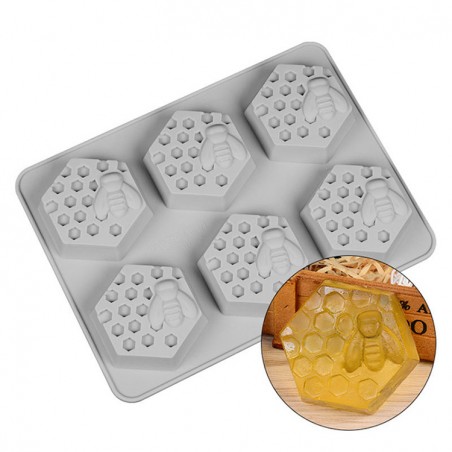
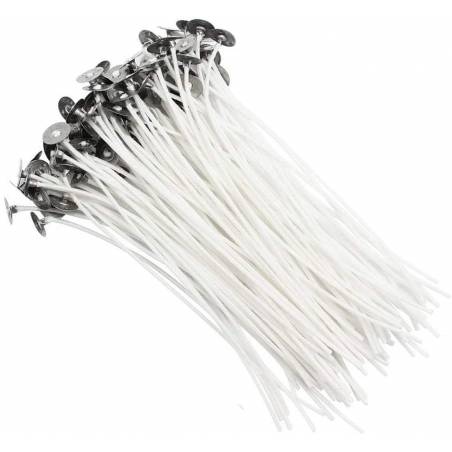
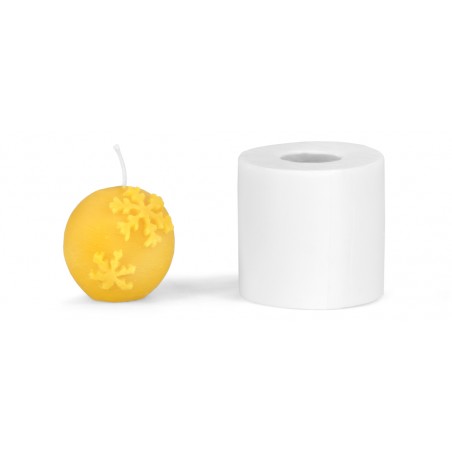
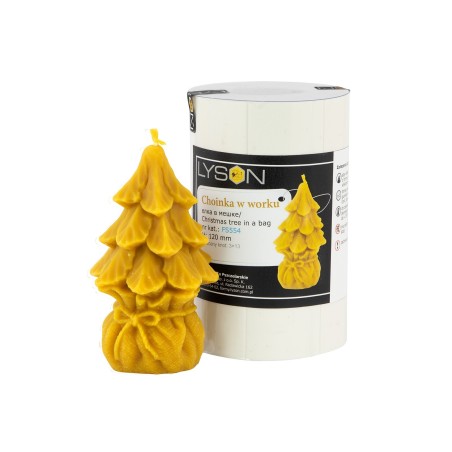
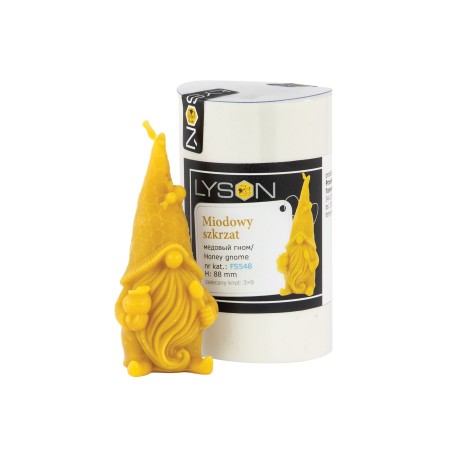
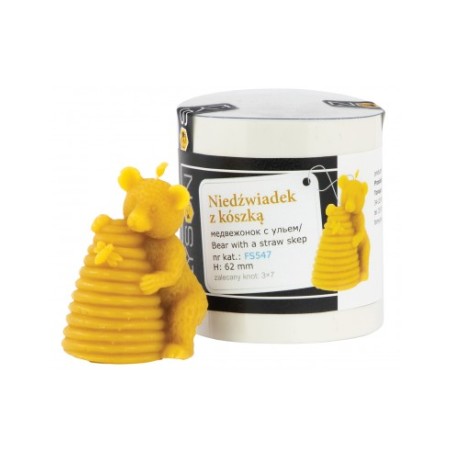
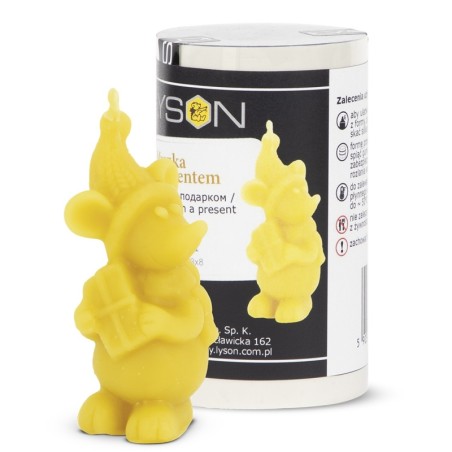
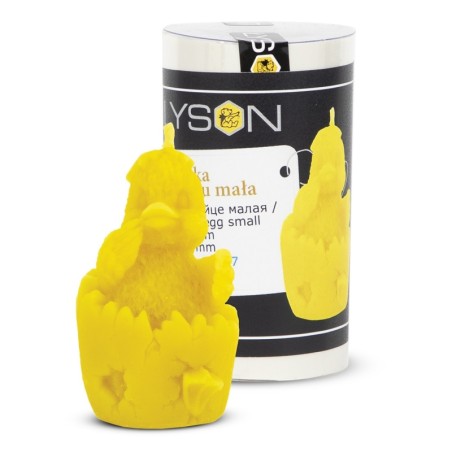
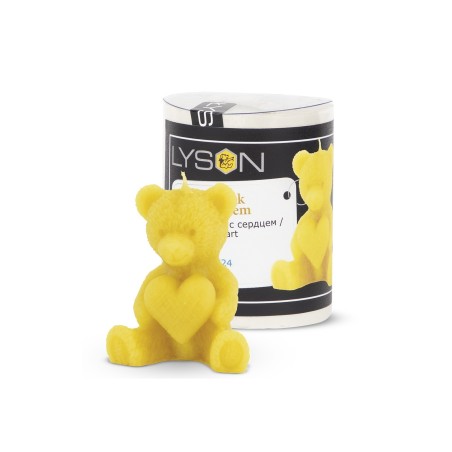
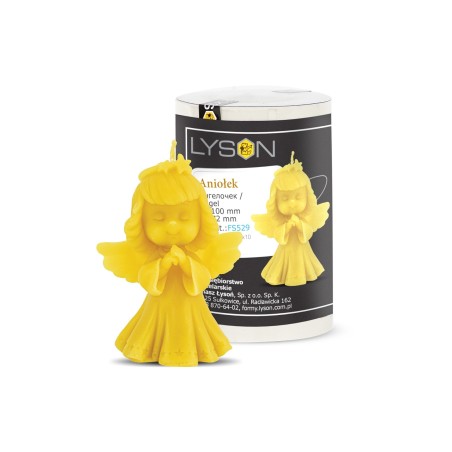
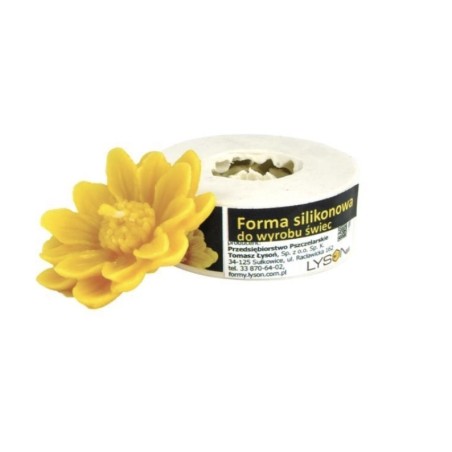
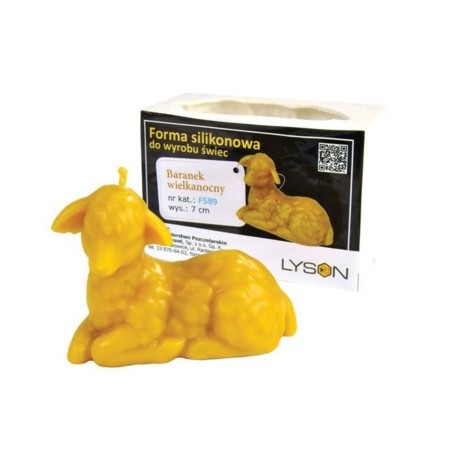
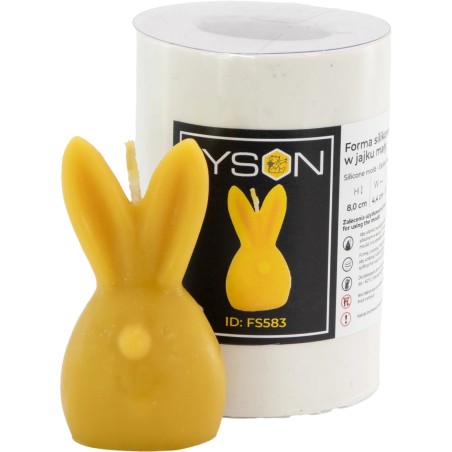
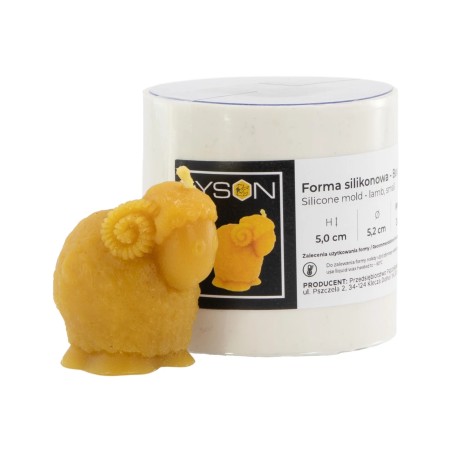
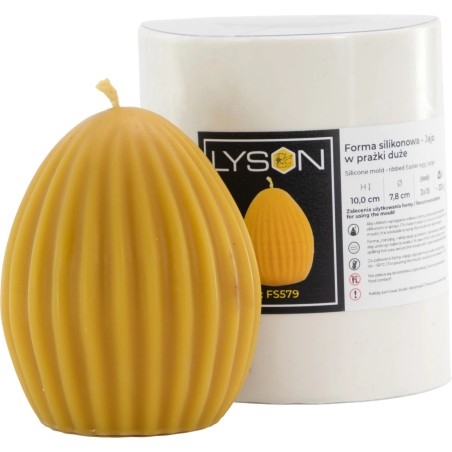
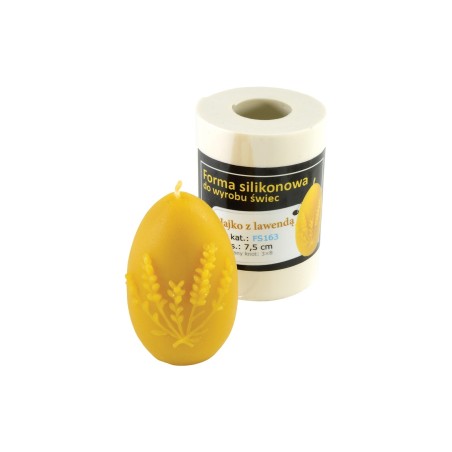
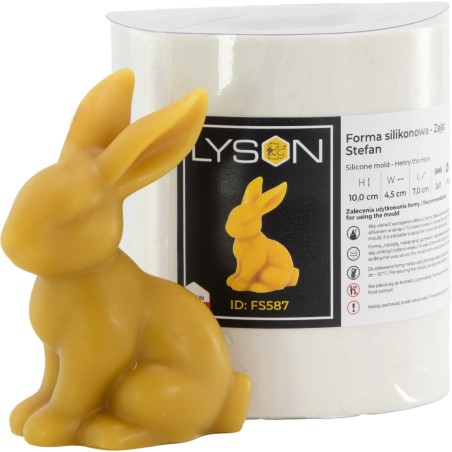
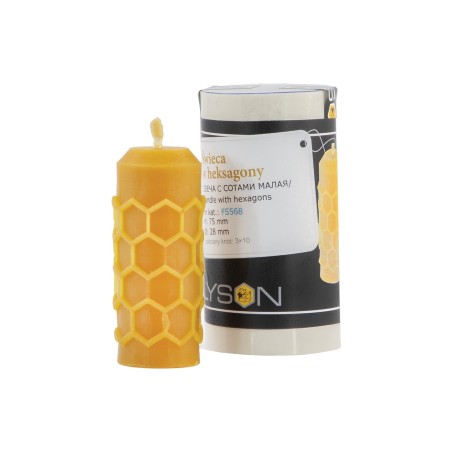
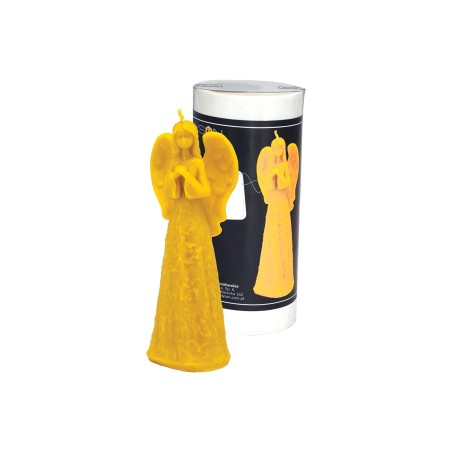
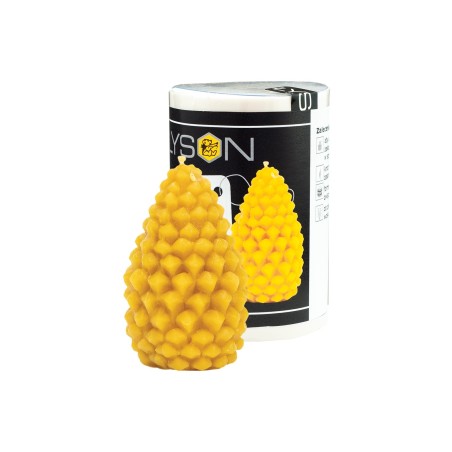
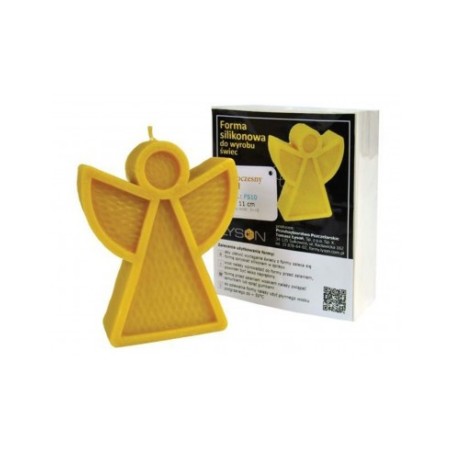
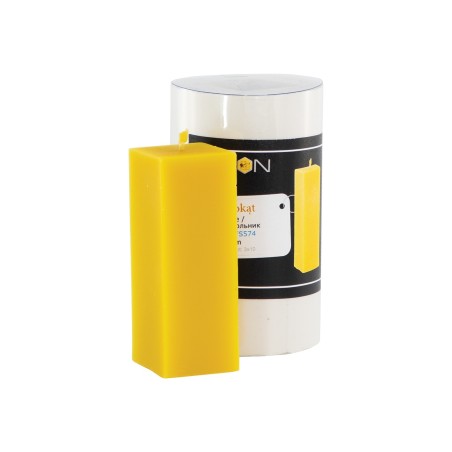
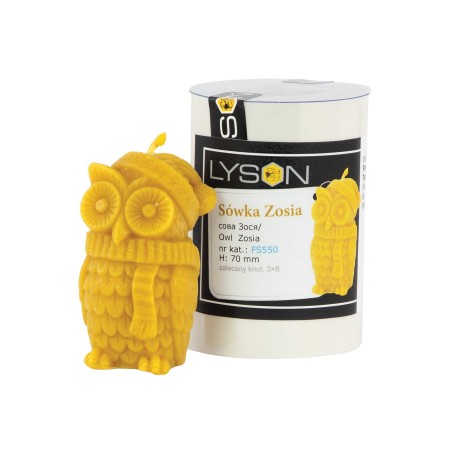
Ninety-four silicone moulds for wax candles: comb and bee, figures, floating, decorative, Christmas and religious. Plus wicks with sustainer in packs of 100.
- Pure beeswax
- Melting and rolling beewax
Mold Theme
Price
-
€7.00 - €255.00
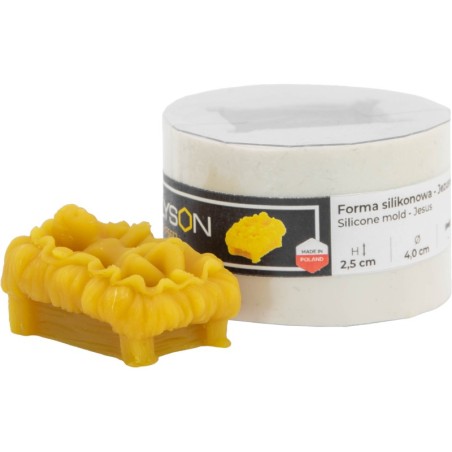
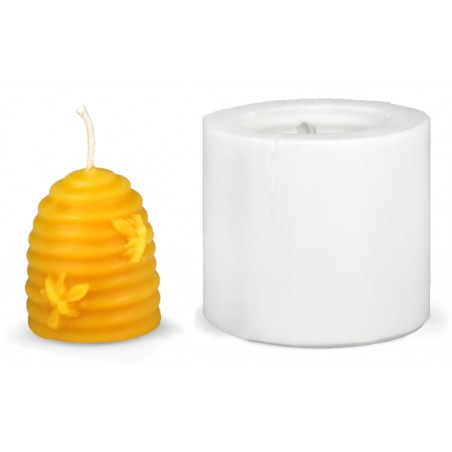
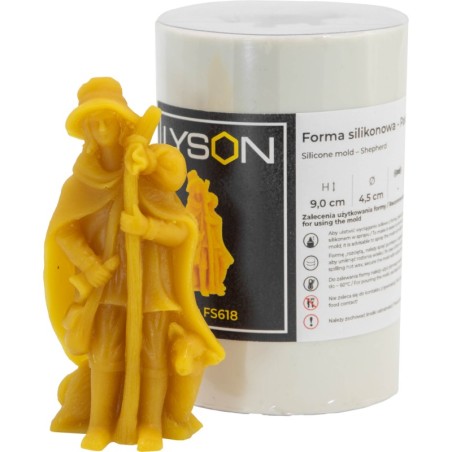
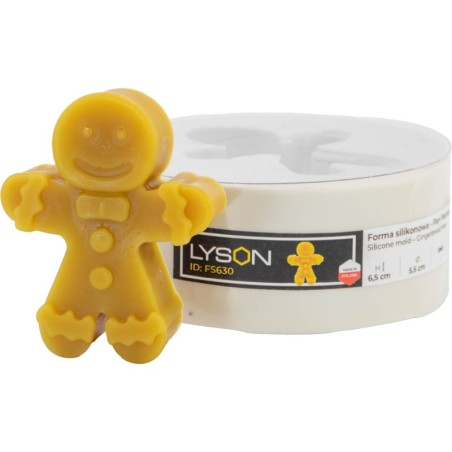
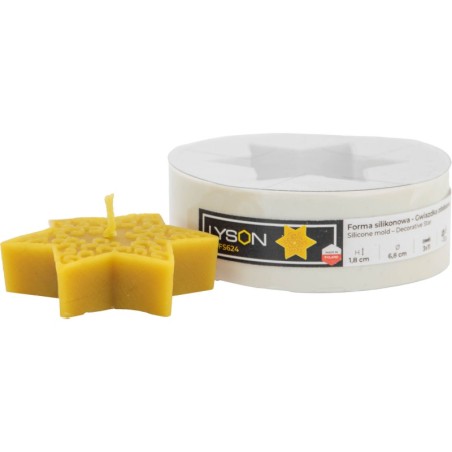
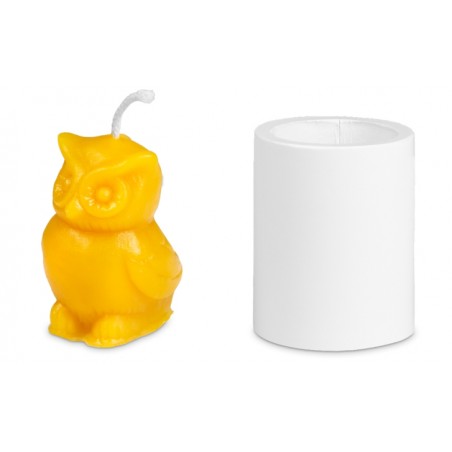
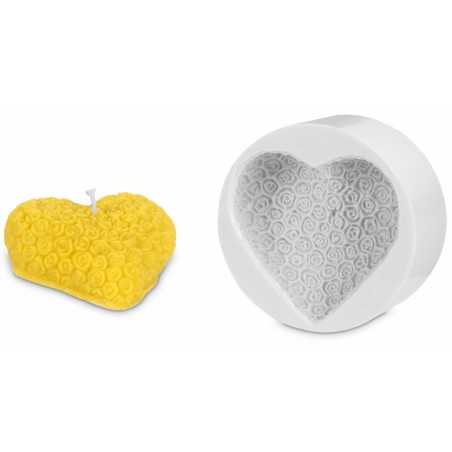
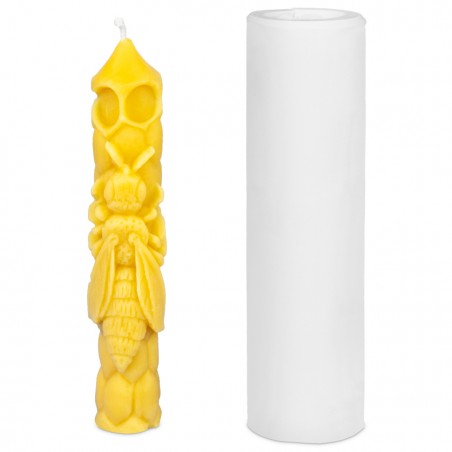
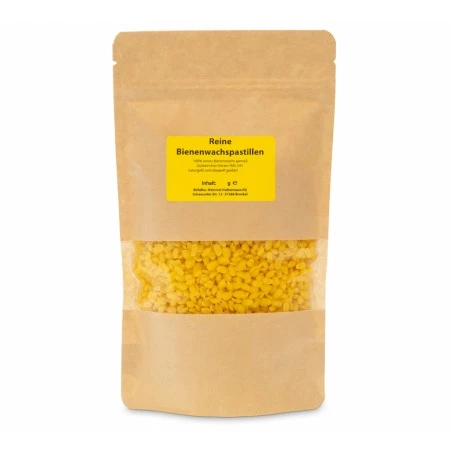
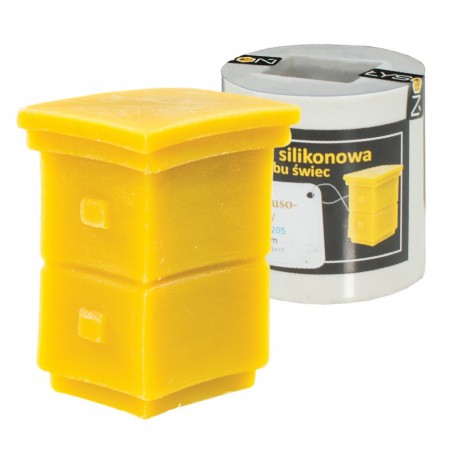
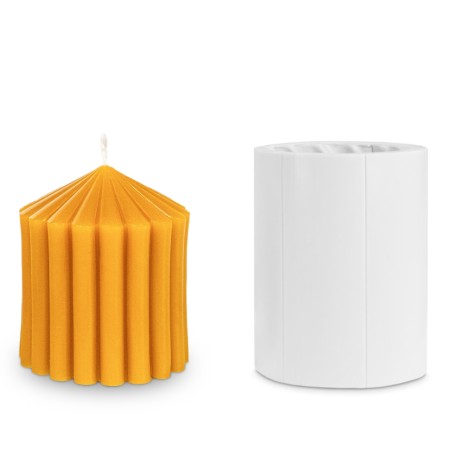

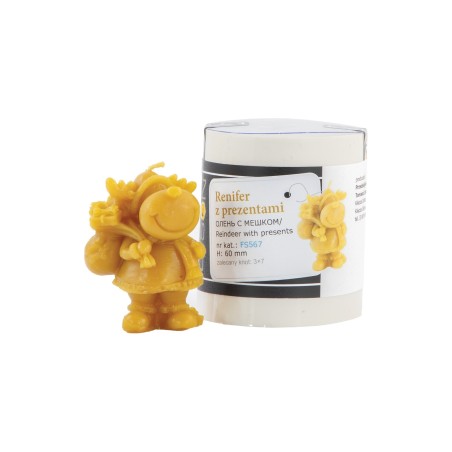
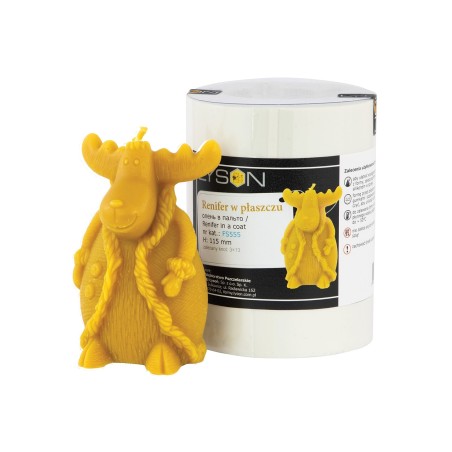




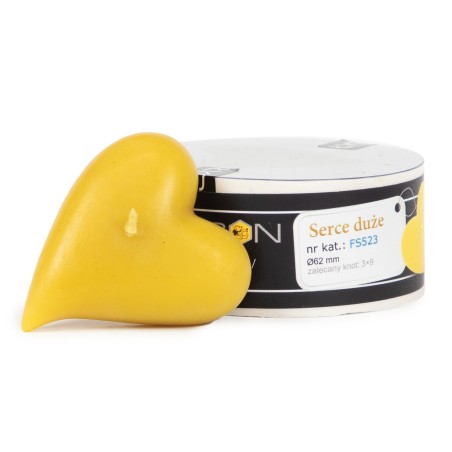
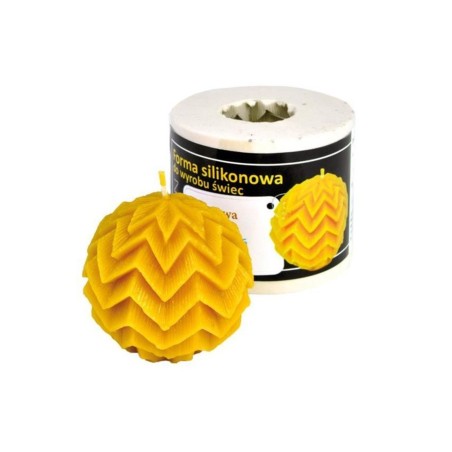
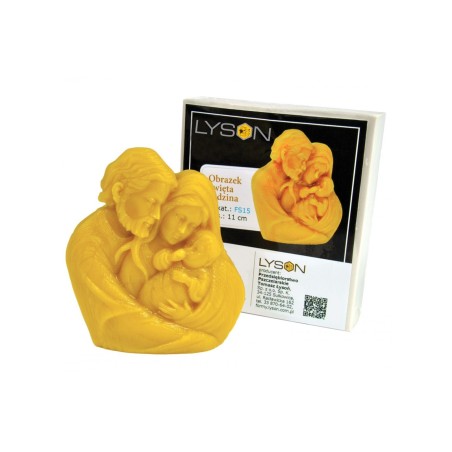
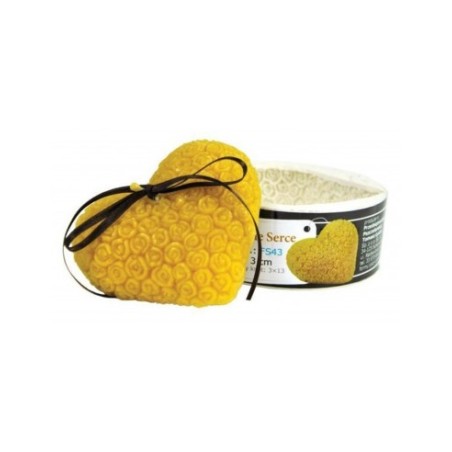
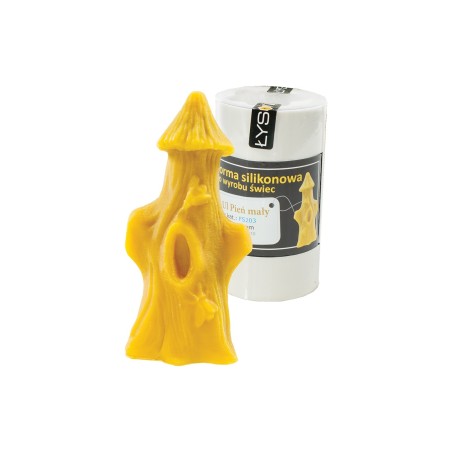
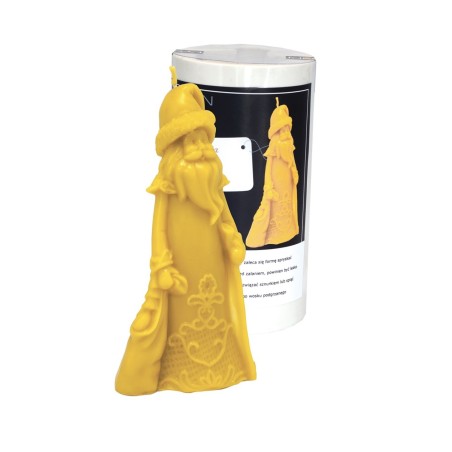

How to make good beeswax candles
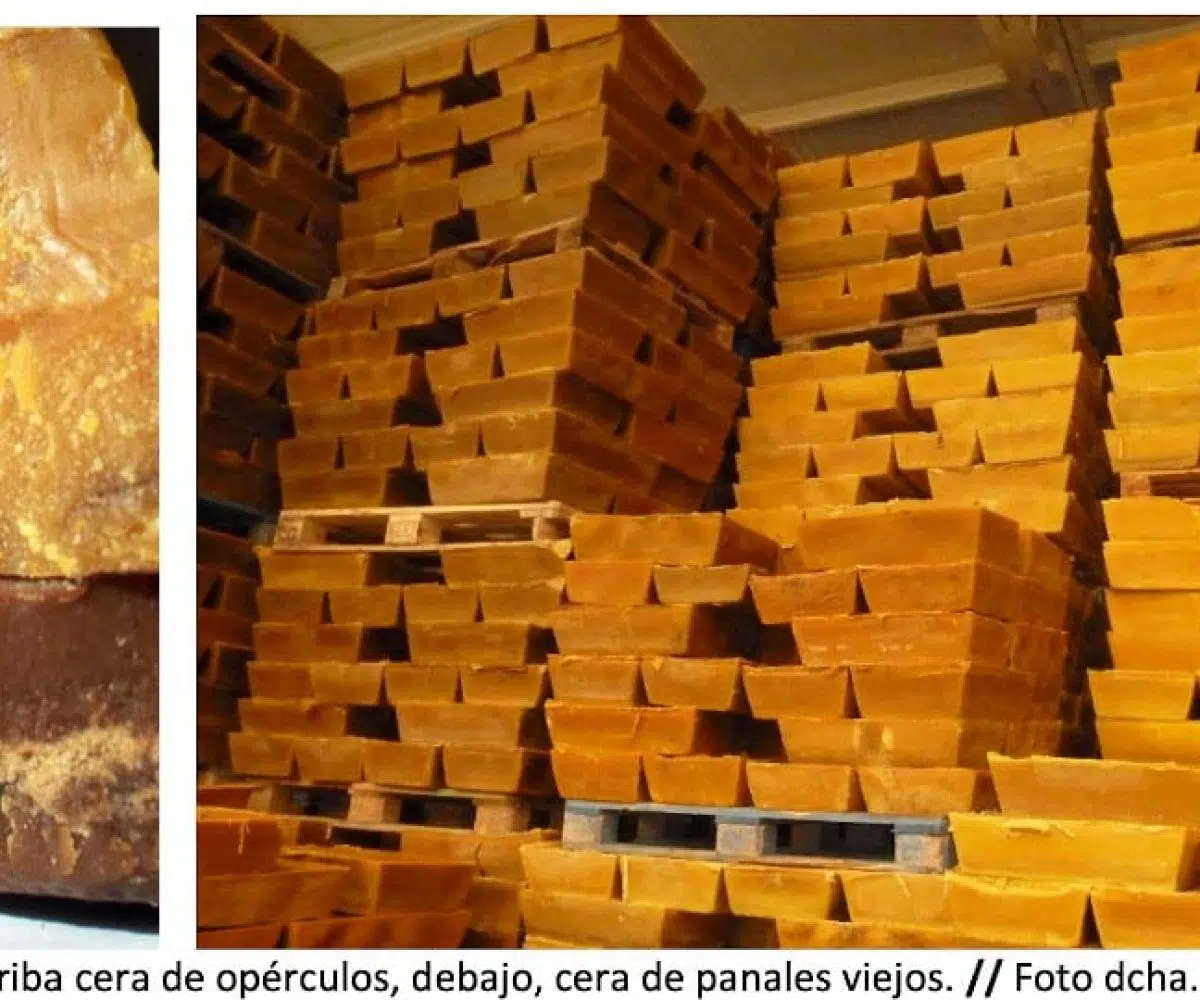
Making candles with beeswax isn't just about choosing a nice mould. Wax is a noble, aromatic and very valuable raw material, so it deserves to be worked well. For candles, I'd prioritize clean, well-settled wax, without honey residue, without moisture and without strange smells. If you use your own wax, I wouldn't mix clean cappings with old brood-chamber combs without criteria: the former usually gives lighter, more aromatic and pleasant candles; the latter can carry more impurities, dark colour or residues. And something important: heating more doesn't mean working better. If you punish the wax with too much temperature, you can lose part of its natural aroma and worsen the finish.
My advice is to choose the mould according to the level of detail and the use you want. To start with, I'd go for simple shapes: cylinders, honeycombs, hives or figures easy to unmould. Highly detailed moulds look very good, but they demand more patience, a good pouring temperature and careful unmoulding. I'd also pay close attention to the wick: it isn't chosen by eye. If it's too thin, the candle drowns or burns badly; if it's too thick, it can smoke, use too much wax or deform the piece. Before buying, I'd check the size of the mould, the type of wax, the candle diameter, a compatible wick, ease of cleaning and the durability of the mould. And here I'll take a clear stand: a good candle doesn't depend only on the mould; it depends on clean wax, controlled temperature, the right wick and patience. The mould gives the shape, but the quality comes from the process.
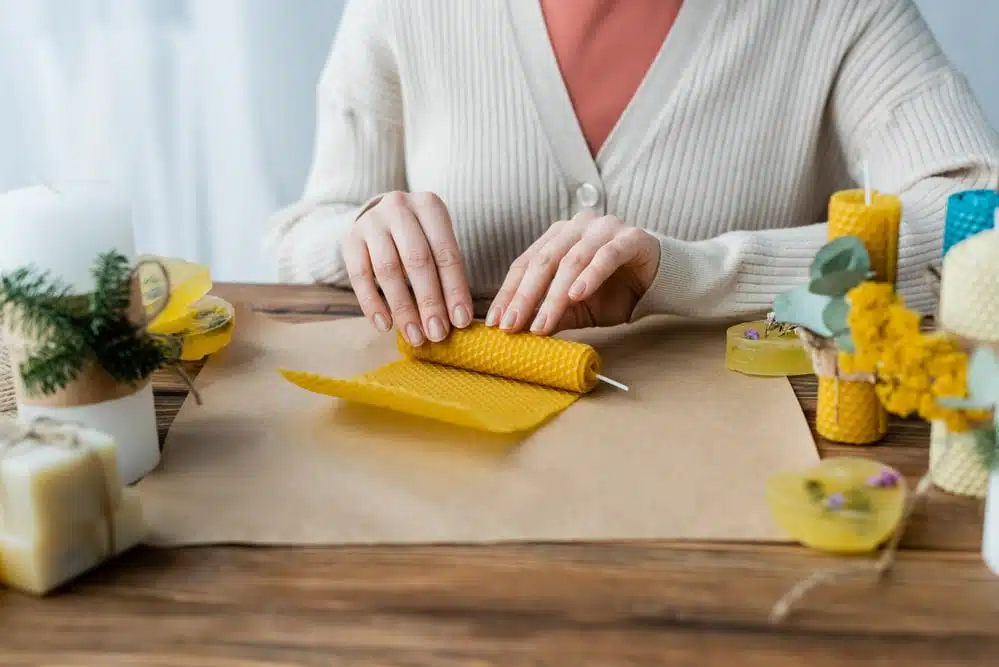
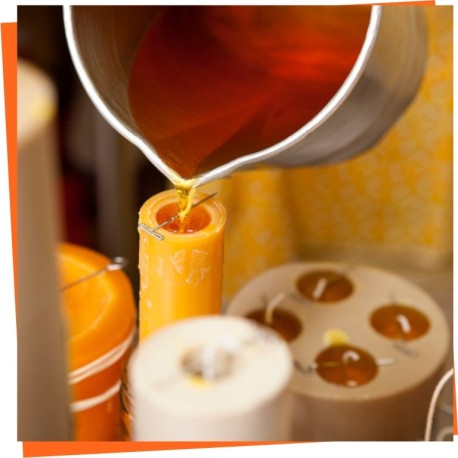
Candle moulds
Ninety-four moulds is a lot to choose from, so the criterion is not the design: it is how much work each one gives.
What determines the difficulty
- Fine detail. A mould with pronounced relief — a figure, a flower — needs properly fluid wax and slow pouring so it fills the hollows without bubbles. A plain or comb one is far more forgiving.
- Narrow necks. If the piece has a section narrower than the base, it is harder to release. A silicone mould helps because it stretches, but it is worth knowing beforehand.
- Size. A large candle cools from outside in and can sink in the middle as it sets. You correct it by topping up a second time once it has dropped.
The wick goes with the diameter
It is the decision that ruins most candles. A wick too thin for the diameter and the candle tunnels, leaving an unburnt wall; too thick and it smokes and drips. Wicks with a sustainer come in packs of 100 from €7.95 and are the convenient ones for moulds, because the sustainer keeps them centred and upright while the wax sets.
And the bands, which are not a detail
Two-part silicone moulds close with elastic bands. Without them the wax escapes at the seam and you lose the piece and the wax: it is failure number one on the first attempt. They are in candle-making supplies for under two euros.
On pouring temperature the rule is the usual one: wax melts between 61 and 65 ºC and there is no need to go much above — over 140 ºC the volatiles that give the honey smell are gone. Ready-made candles are in beeswax candles.
How do you clean a silicone mould for candles?
Allow the wax to cool completely and gently flex the mould to remove solid residues. Remove particles with a lint-free cloth. If the manufacturer allows washing, use lukewarm water and mild soap; very hot water and some solvents can deform or degrade certain silicones.
Thoroughly dry cavities and cuts before storing, without folding under weight. Do not pour wax down the drain: allow it to solidify and collect it for reuse or proper disposal. Do not grease the mould routinely, as many silicone models release without oil and the residue can mark the candle.
How can bubbles be reduced when pouring wax into a mould?
Work with clean, fully melted wax, avoiding overheating or stirring in a way that incorporates air. Pour slowly in a continuous stream along one side of the mould. Gentle taps on the table can release bubbles trapped in the details.
The pouring temperature depends on the type of wax, the size of the candle and the mould material; follow the supplier's recommendation and test with a small batch. If the manufacturer allows, slightly tempering the mould reduces thermal shock. Reserve wax to fill central shrinkage during cooling.
How should a mould be prepared before pouring the wax?
Ensure it is clean, dry, free of cuts and stable. Thread the wick through the hole, seal the exit point to prevent leaks and centre it with a support at the top. Close clamps or joints according to the mould's design.
Use mould release only if recommended on the sheet and in the indicated amount. Prepare a heat-resistant surface, appropriate gloves and a container with sufficient capacity; molten wax is flammable and contact with water can cause splashing. Adjust the pouring temperature to the type of wax and the mould, not following a single recipe.