 Apipasta with vitamins 15kg
 Beecomplet® Spring 14Kg
 Beekeeper suit with round veil
 Oxalic acid 1kg
 Beeswax Foundation 5kg
 Fresh royal jelly 20g
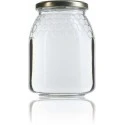 Classic honey jar 1kg comb-lines TO77 - Pack of 16 units
 Promotor L Apis 1 litre
- Out of stock

 Share in WhatsApp
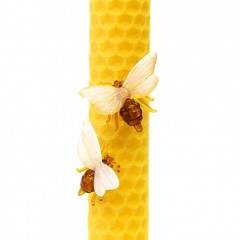
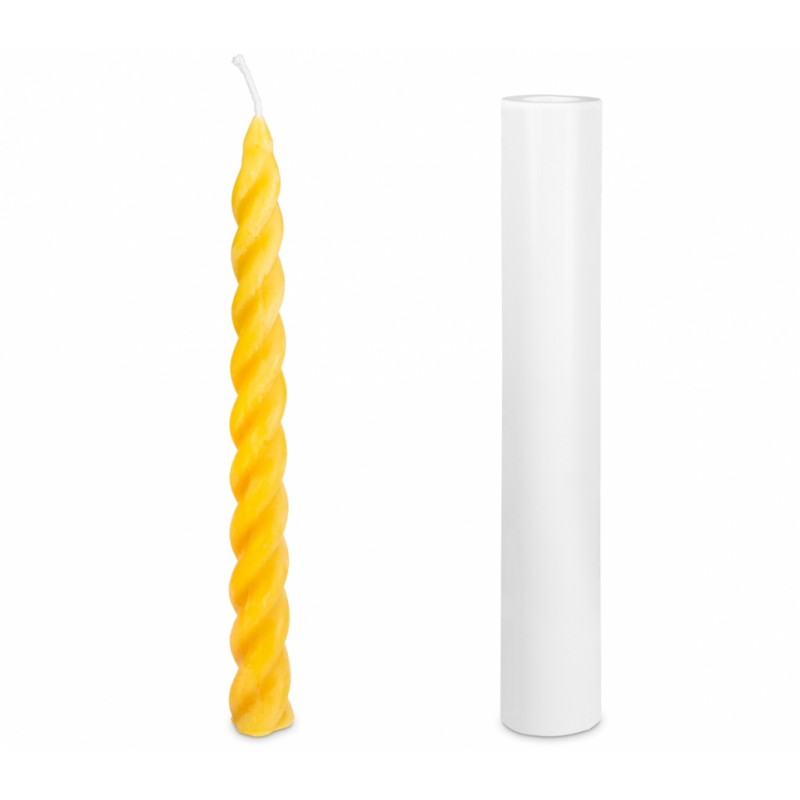
Reusable silicone mould for making easy-to-use wax candles. With this model, you will get fine candles in the traditional style.
Fifty grams per candle: a kilo of wax makes twenty. That is the sum to do before you start melting.
Reusable silicone mould for a 25 cm tall fine ribbed candle in the traditional style. Each candle takes around 50 g of wax and a number 2 wick.
01 · THE WICK
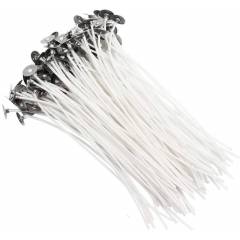
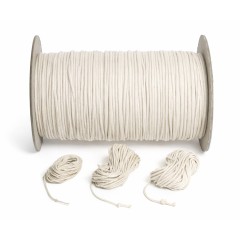
In a narrow candle the wick matters more than in any other: too thick and the flame eats the edge and the candle drips; too thin and it drowns in its own wax. For this mould the reference is a number 2 wick.
Cut it longer than the mould, centre it and leave it taut — a stick laid across the top will do — then close the mould with elastic bands around it.
02 · THE TEMPERATURE
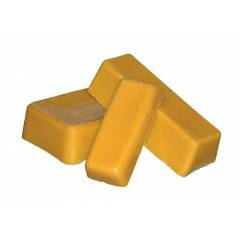
Beeswax melts between 61 and 65 °C, so below that it is not fully liquid and will not fill the relief. Pour at 65-70 °C, slowly, so it reaches every hollow of the ribbing without dragging air in.
And a warning about the shape: a 25 cm ribbed candle is a complicated figure. Spraying the inside of the mould with silicone release spray before pouring is what stops you leaving half a rib behind when you unmould.
03 · THE COOLING
Setting time depends on the volume; a slim candle sets fairly quickly. As it cools the wax contracts and usually sinks around the wick at the top: top it up with a little wax from the same batch and the base comes out flat.
Then pull on the elastics, open the mould and ease the candle out.
04 · THE FINISH
Remove the stick and trim the wick leaving one centimetre at the top. At the bottom, trim the base flat with a knife so it stands, and so the end of the wick can be dipped in warm wax.
The mould is silicone and can be reused indefinitely in practice: what ruins it is not use, it is forcing the candle out.
05 · BEFORE YOU BUY
It is the mould, and nothing else:
| ✓ FITS | Slim traditional-style candles, 25 cm and about 50 g of wax. |
| ✕ DOESN'T FIT | Thick or high-volume candles: this mould is narrow. |
| ⚠ NOT INCLUDED | Wax, wick or release spray. |
| Product | Silicone mould for a fine ribbed candle |
|---|---|
| Height | 25 cm |
| Wax per candle | About 50 g · 20 candles per kilo |
| Recommended wick | Number 2 |
| Pouring temperature | 65-70 °C |
| Closing | Elastic bands around the mould |
| Reusable | Yes, no practical limit |
| Reference | LZ139-FS32 |
Data sheet

Reusable silicone mould for making easy-to-use wax candles. With this model, you will get fine candles in the traditional style.
check_circle
check_circle