
-
Beehives
- Complete beehive
- Accessories
-
Nuc hives
- Nucs by format
- With bees & mating
- Spare parts
-
Bee equipment
- For the apiary
- For the beekeeper
-
Clothing
- Clothing Accessories
-
Beeswax
-
Pure beeswax
- Beeswax and foundation
- Beeswax foundations
- Melting and rolling beewax
-
Pure beeswax
-
Bee feed
- Accessories and source materials
- Utensils
-
Bee health
- Varroa Treatments
- Diseases control
- Nutraceuticals
-
Extraction and bottling
- Before extraction
- Honey extraction
- After extraction
-
Bee pollen
- Harvest
- Indicted
-
Honey packaging
- Flasks per utility
- Flasks by size
- Other packaging
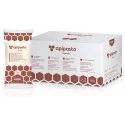 Apipasta with vitamins 15kg
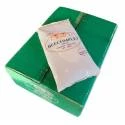 Beecomplet® Spring 14Kg
 Beekeeper suit with round veil
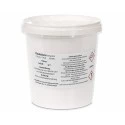 Oxalic acid 1kg
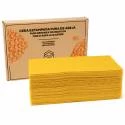 Beeswax Foundation 5kg
 Fresh royal jelly 20g
 Classic honey jar 1kg comb-lines TO77 - Pack of 16 units
 Promotor L Apis 1 litre
Candle making supplies
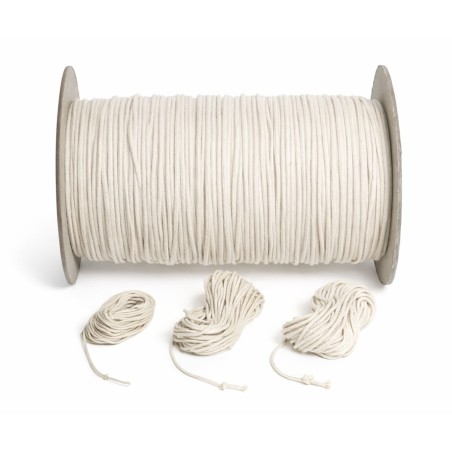
Wick on 20 m rolls, holders, silicone moulds with their bands, fragrance oils, cutting rollers and decoration. Everything that goes between the wax and the finished candle.

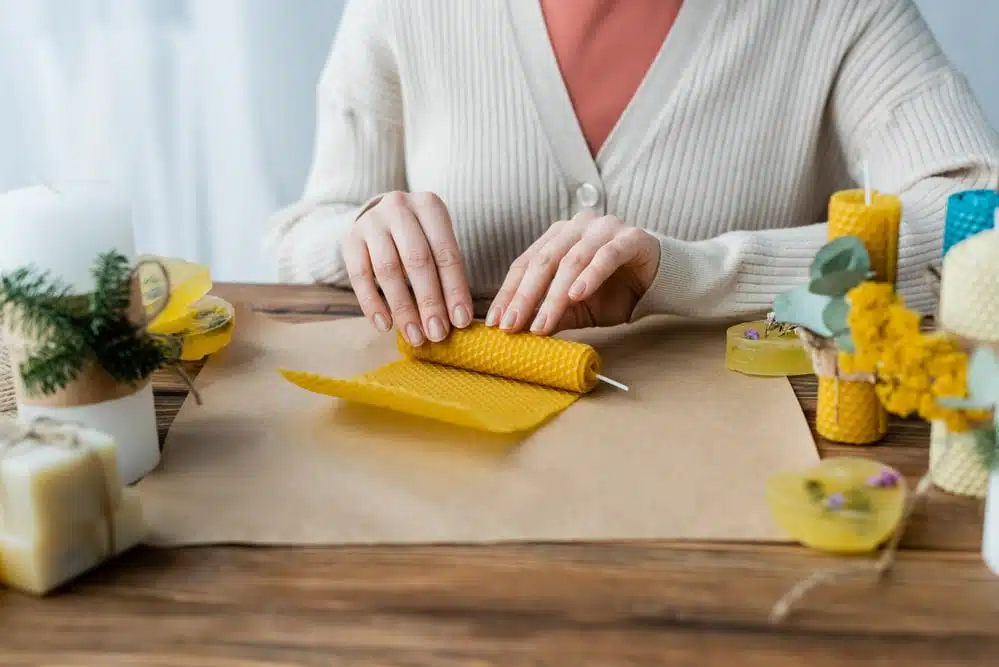
Start by rolling, not melting
Almost everyone who wants to make candles starts by buying a melter, moulds and a thermometer, and spends a fair amount before lighting the first one. There is a shorter route: a sheet of embossed wax and a length of wick. Put the wick along the edge, roll it tight, and you have a candle. Nothing melted, no thermometer, no waiting for it to cool.
Once you know whether you enjoy it, the equipment is worth it. And there the order matters: the wick before the mould. I have seen plenty of people with a fine collection of moulds and a single wick thickness, and then half a dozen candles that tunnel or smoke. The wick is chosen by the candle's diameter, so if you are going to have three mould sizes, you need three wicks.
Candle making supplies
Making candles with your own wax is the most direct way to raise the value of that wax. And almost everything that goes wrong the first time goes wrong for the same reason.
The wick is the decision, not the mould
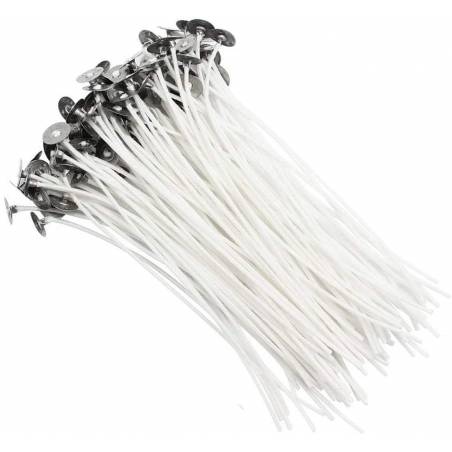
The wick thickness has to match the candle diameter. Too thin for the diameter and the flame does not melt the whole surface, so the candle tunnels down the middle and leaves an unburnt wall. Too thick and it smokes, drips and burns out sooner. There is no universal wick: you test it against the diameter you are going to make and adjust.
Square-braid wick comes on a 20 m roll, which makes a lot of candles and works out cheaper than buying it cut. Wick holders, from €0.70, are what keeps it centred while the wax sets — and a centred wick is half of a candle that does not drip.
The pouring temperature
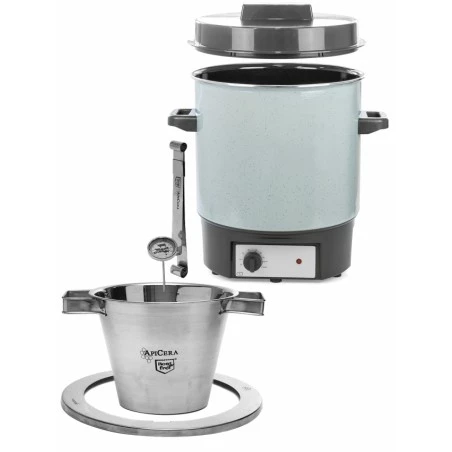
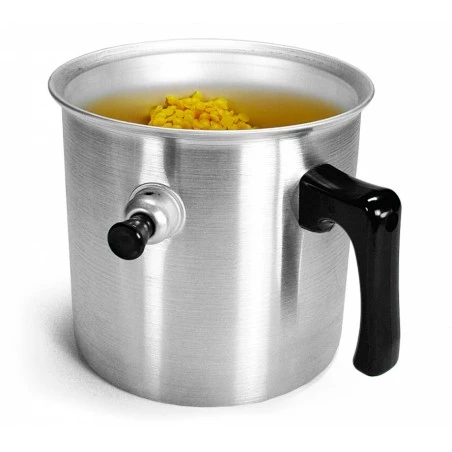
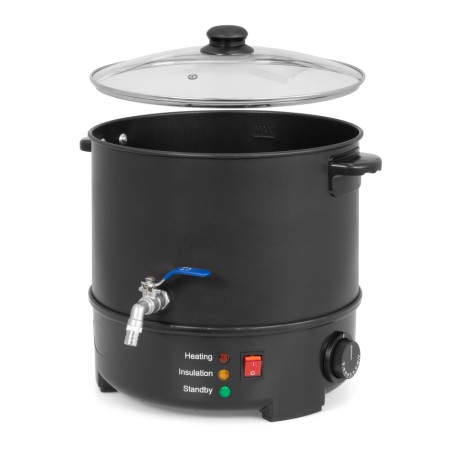
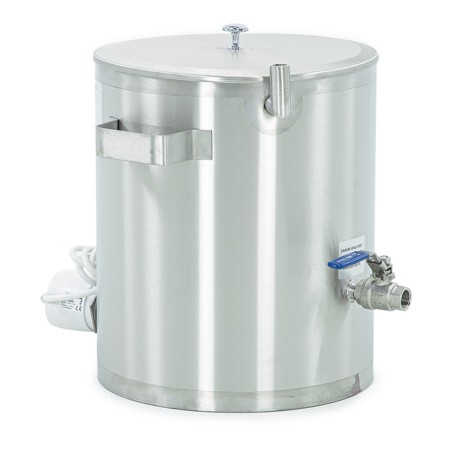
Wax melts between 61 and 65 ºC and there is no need to go much above that. Above 140 ºC the volatile fractions start to evaporate, and those are exactly what give the honey smell: overheating throws away the aroma people buy it for. Melt in a water bath or in a wax melter, never over direct heat.
Moulds and what they need
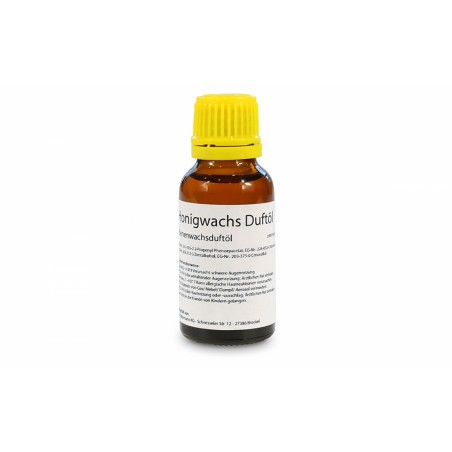
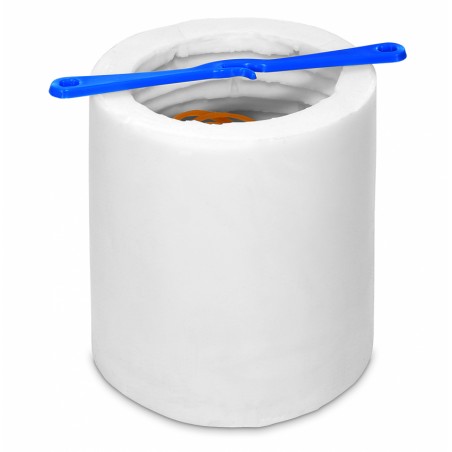
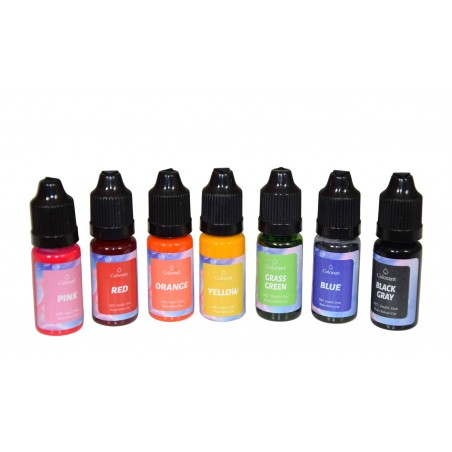
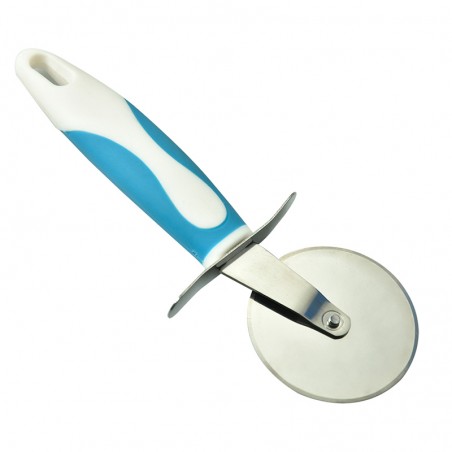
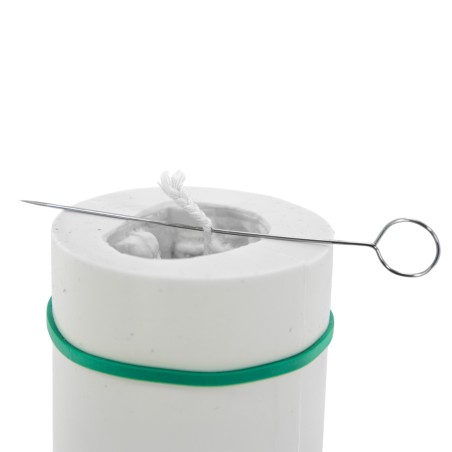
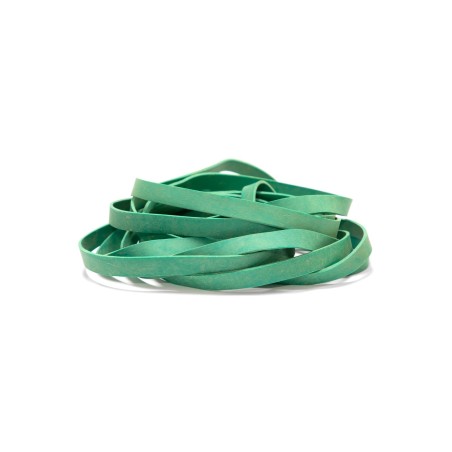
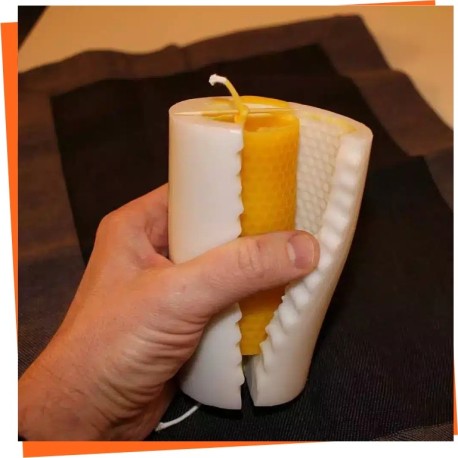
Silicone ones close with elastic bands (€1.95) — without them the wax escapes at the seam, and that is the commonest first-attempt failure. There are also rollers for cutting sheets (€5) if you work with foundation instead of pouring, and honey-wax fragrance oils if you want to reinforce the aroma.
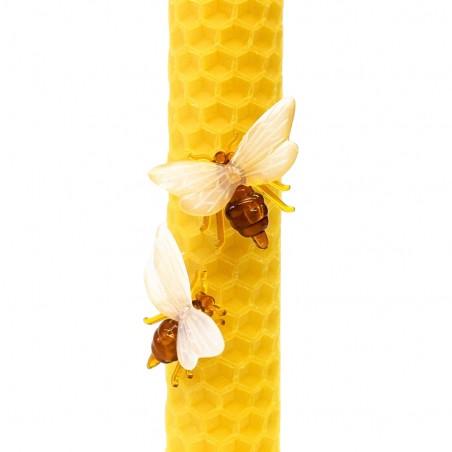
For decoration, wax bees in packs of 10 from €1.95. And the raw material is in beeswax in blocks.
What materials do I need to make beeswax candles?
To make beeswax candles you mainly need:
- Pure beeswax (in sheets or blocks).
- Wick (cotton or linen, ideally treated for beeswax candles).
- Moulds or containers (silicone, metal or glass, depending on your design).
- A kitchen thermometer to control the melting temperature.
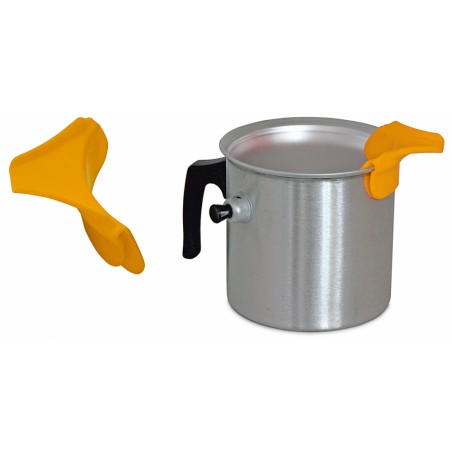
- A pan or saucepan for a bain-marie, plus mixing utensils.
Tip: make sure you use good-quality beeswax — it is what guarantees the natural scent and an even burn.
How can I make beeswax candles last longer?
- Use the right wick: too thick a wick burns the candle down fast; too fine a one can go out easily.
- Trim the wick regularly: keeping it at about 5 mm stops the flame growing too large and makes the candle last longer.
- Let a wax pool form: when you light it, wait for the whole surface to melt before putting it out, to avoid tunnelling and wasted wax.
- Store somewhere cool: keep them away from heat and direct light to prevent warping and melting before use.