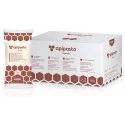
 Apipasta with vitamins 15kg
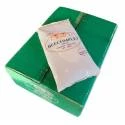 Beecomplet® Spring 14Kg
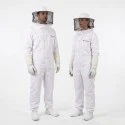 Beekeeper suit with round veil
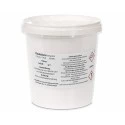 Oxalic acid 1kg
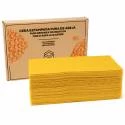 Beeswax Foundation 5kg
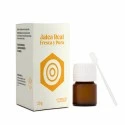 Fresh royal jelly 20g
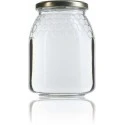 Classic honey jar 1kg comb-lines TO77 - Pack of 16 units
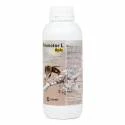 Promotor L Apis 1 litre

 Share in WhatsApp
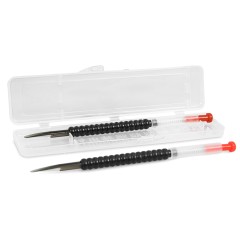
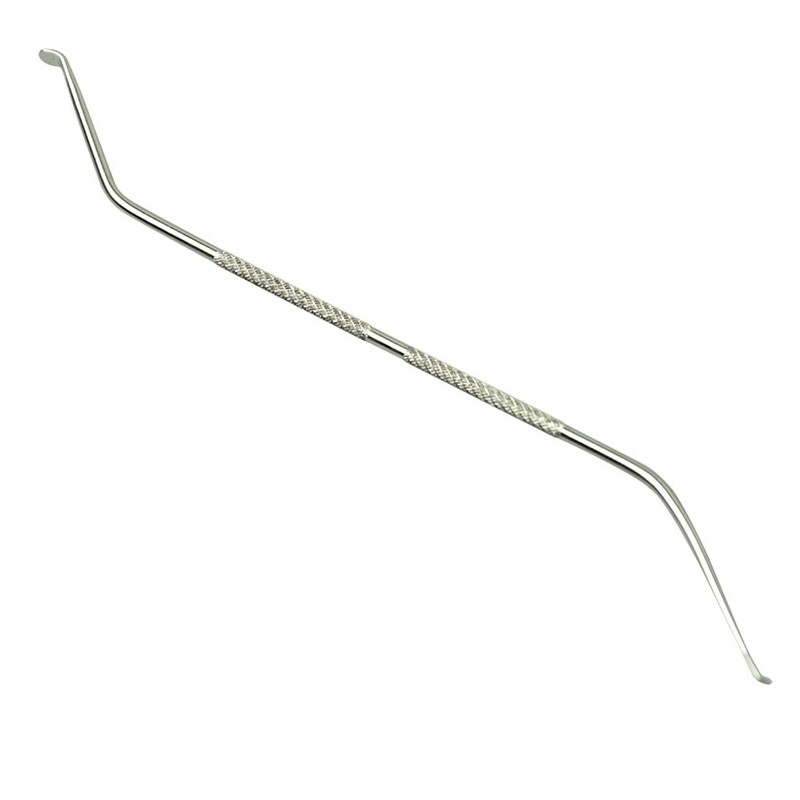
Double-ended metal grafting tool for transferring larvae in queen rearing.
Its two ends have different profiles: one is wider and curved, whilst the other is thinner and angled. This difference allows you to choose the end that fits best into the cell and suits your hand position, without being limited to a single shape.
01 · HANDLING
The wide tip offers a larger collection surface; the narrow tip makes it easier to work in cells where access is more restricted. Try both ends on an empty cell first and choose the one that allows you to glide along the wall without scraping the bottom. Practising the movement on discarded comb helps you find the right angle and grip before working on a real batch. The key is to adapt the tool to the comb and your hand, not to apply more pressure.
02 · GRAFTING
Work in good light, a temperate environment and with sufficient moisture to prevent the larva from drying out. Look for very young, small larvae surrounded by food; insert the tip beneath the larva and its jelly, lift gently and deposit the larva with its food without turning it over. Keep the frame covered with a damp cloth and return it promptly to the starter or finisher colony.
03 · BEFORE YOU BUY
| ⚠ NOT INCLUDED | Tool precision is only one part of the method. Clean the tips before and after each session and dry them thoroughly before storing them. Avoid bending or sharpening them: this would alter the profile that supports the larva. The grafting tool makes the procedure easier, but it does not determine whether the queen will be accepted or her quality; larval age, nurse bees, nutrition, temperature, health and the timing of the series also play a part. |
| Type | Double-ended grafting tool |
|---|---|
| Visible material | Metal |
| Declared length | 19 cm |
| Use | Manual grafting for controlled queen rearing |
Data sheet

Write your question
check_circle
check_circle