 Apipasta with vitamins 15kg
 Beecomplet® Spring 14Kg
 Beekeeper suit with round veil
 Oxalic acid 1kg
 Beeswax Foundation 5kg
 Fresh royal jelly 20g
 Classic honey jar 1kg comb-lines TO77 - Pack of 16 units
 Promotor L Apis 1 litre

 Share in WhatsApp
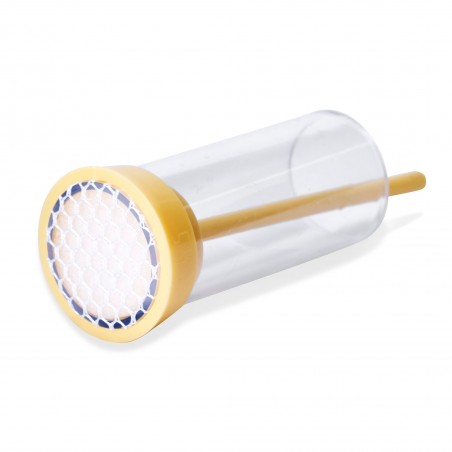
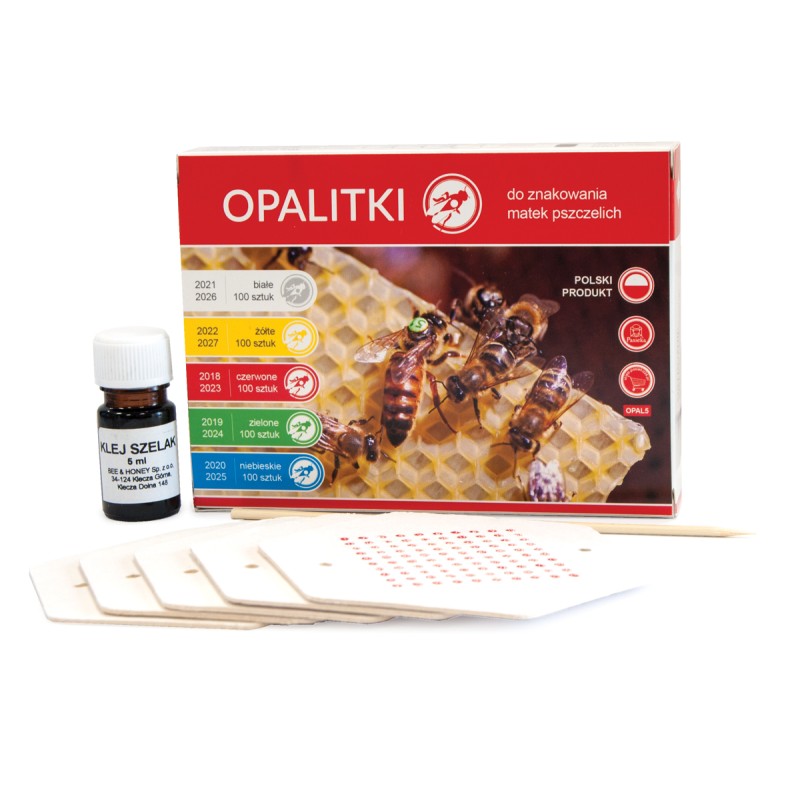
Professional queen marking kit with 5 year-coded colours, numbered discs (1–100), glue and applicator stick. Ideal for tracking mated queens.
The colour tells you which year the queen is from. The number tells you which queen she is.
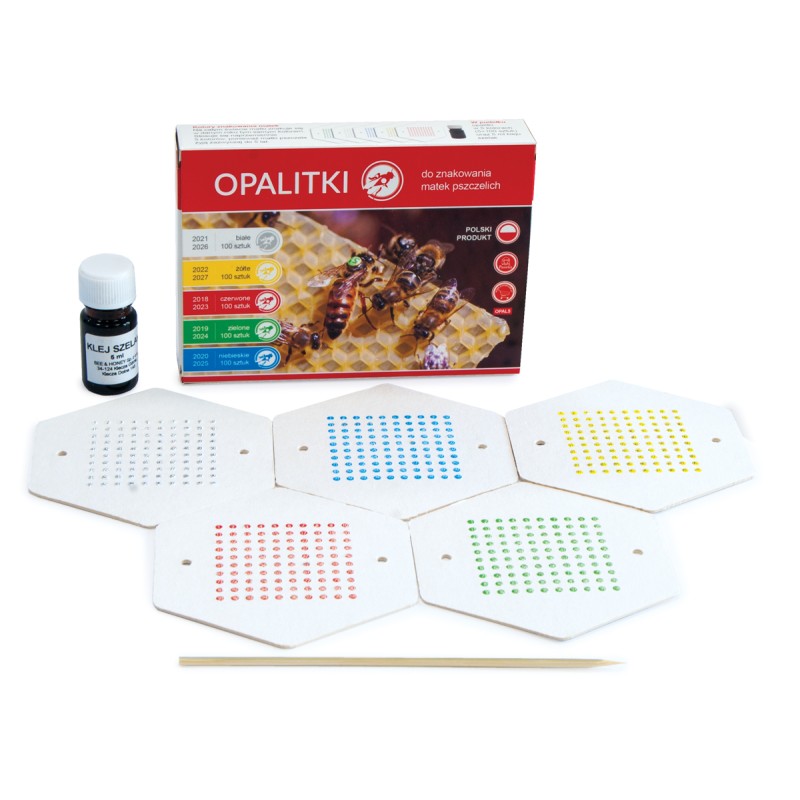
Marking kit with five hexagonal cards of fluorescent opalith discs, a hundred numbered discs per colour, glue and a wooden applicator. Five hundred marks in one box: enough for several seasons.
01 · THE COLOUR CODE
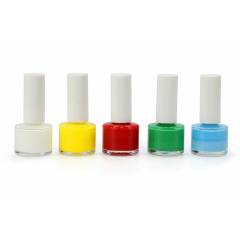
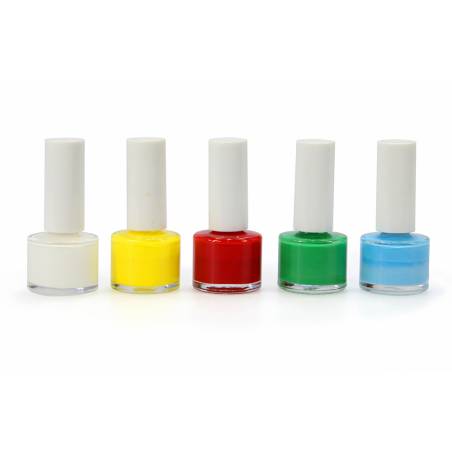
The international code assigns a colour to each year by its last digit, repeating every five. It is what lets you tell at a glance whether a queen is two or six years old, even when the hive record has gone missing:
| Colour | Years ending in | Coming years |
|---|---|---|
| White | 1 y 6 | 2026 · 2031 |
| Yellow | 2 y 7 | 2027 · 2032 |
| Red | 3 y 8 | 2028 · 2033 |
| Green | 4 y 9 | 2029 · 2034 |
| Blue | 5 y 0 | 2025 · 2030 |
That is why the kit carries all five colours and not just one: marking year after year, in five seasons you will have used them all.
02 · THE NUMBER
Each card holds a hundred discs numbered 1 to 100. The colour groups by year; the number identifies that particular queen and links her to your records: which mother she came from, which nucleus she left, how she performed.
It is the difference between knowing a colony's age and running a selection programme. If you raise queens and want to repeat the best one, without a number there is no way.
03 · HOW TO MARK
With the queen held still, put a minimal amount of adhesive in the centre of the thorax and carry the disc across with the stick. Nothing on the abdomen, legs or wings: that is where a queen gets ruined.
And you have to wait for the adhesive to set before releasing her. It is the step most often skipped, and the reason the mark turns up on the hive floor three days later.
04 · IF IT IS YOUR FIRST TIME
The advice is worth its weight: before touching a mated queen, mark a few drones. They handle the same way, nobody gets nervous, and they are expendable.
Five or six drones are enough to get the feel of the glue and of your own hand. The queen comes after.
05 · BEFORE YOU BUY
A complete marking kit, good for several seasons:
| ✓ FITS | Queen rearing and selection programmes where every queen must be identified. |
| ✕ DOESN'T FIT | Anyone who only wants the year colour: unnumbered plates exist for that. |
| ⚠ NOT INCLUDED | Marking cage or forceps. |
| Product | Marking kit with numbered opalith discs |
|---|---|
| Model | Fluorescent opalith |
| Contents | 5 cards · 1 bottle of adhesive · 1 wooden applicator stick |
| Discs | 100 per card, numbered 1 to 100 · Ø 2.5 mm |
| Colours | White, yellow, red, green and blue |
| Card | Hexagonal, 90 mm across flats |
| Total marks | 500 |
| Reference | OPAL5 |
Data sheet
Professional queen marking kit with 5 year-coded colours, numbered discs (1–100), glue and applicator stick. Ideal for tracking mated queens.
check_circle
check_circle