 Apipasta with vitamins 15kg
 Beecomplet® Spring 14Kg
 Beekeeper suit with round veil
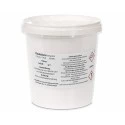 Oxalic acid 1kg
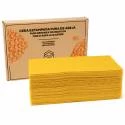 Beeswax Foundation 5kg
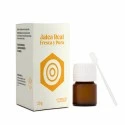 Fresh royal jelly 20g
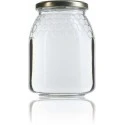 Classic honey jar 1kg comb-lines TO77 - Pack of 16 units
 Promotor L Apis 1 litre

 Share in WhatsApp
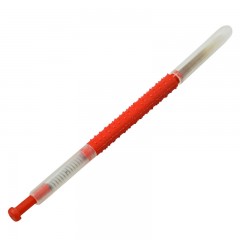
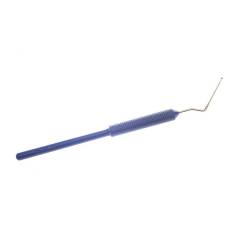
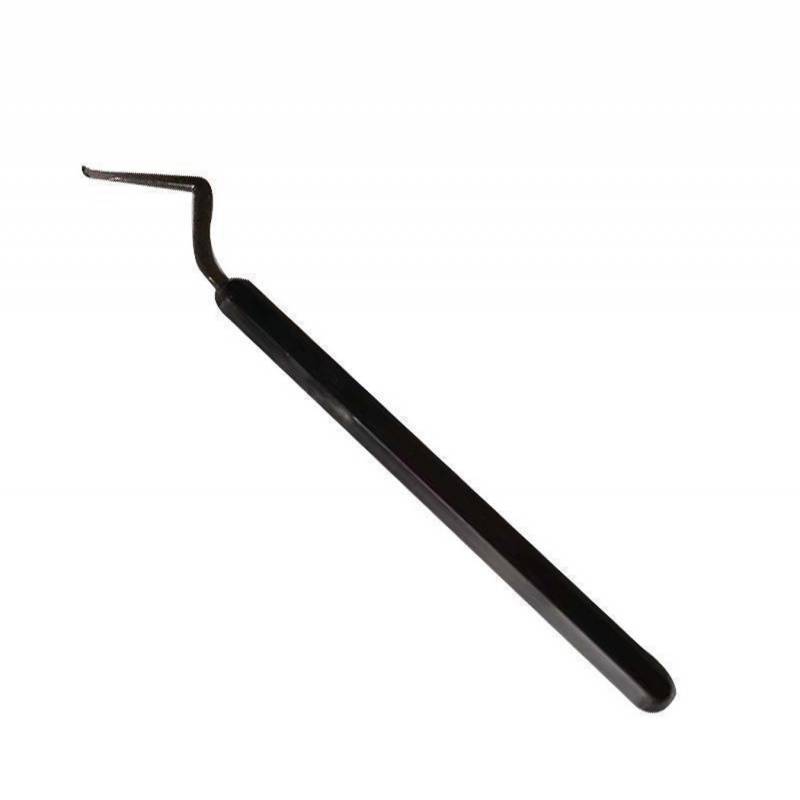
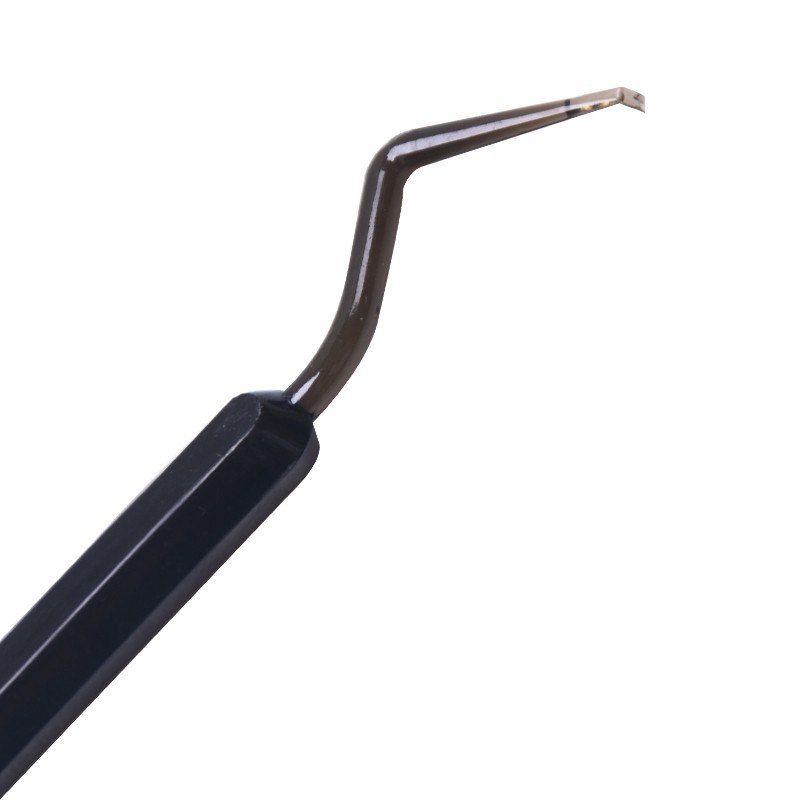
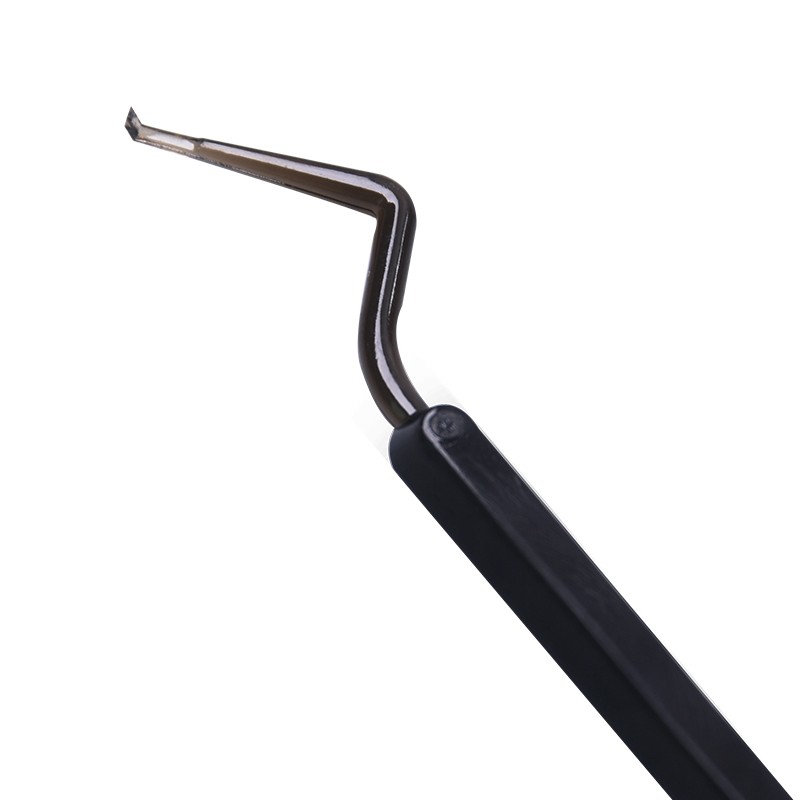
Manual grafting tool with a plastic body and a fine, angled working end.
Its shape allows it to enter the cell, pick up a very young larva along with the small amount of jelly surrounding it, and place it into a queen cup without having to touch it with your fingers.
01 · GRAFTING
Look for larvae that have just begun to curve, are small and surrounded by food. A head torch, the frame held at a slight angle, and a steady stance allow you to see the bottom of the cell without having to keep turning it. If the larva has already formed a distinct ‘C’ shape or fills a large part of the cell, do not compensate for its age by handling it more aggressively: choose another one.
02 · USE
· Hold the frame firmly and locate the larva before inserting the tip.
· Slide the tip along the cell wall until it passes beneath the larva and its food, without pressing it against the bottom.
· Lift in one continuous movement, maintain the orientation and place the larva in the centre of the queen cup.
· Cover the prepared queen cups with a clean, slightly damp cloth and take them to the starter colony without unnecessary delay.
03 · BEFORE YOU BUY
| ⚠ NOT INCLUDED | Avoid cold, draughts and drying out. Once outside the colony, the larva rapidly loses the environment maintained by the nurse bees. Work in a temperate place, out of direct wind, with the queen cups protected. The humidity should prevent them from drying out; do not leave the larvae submerged. |
⚠ PRECAUTIONS
The grafting tool makes the process easier, but does not guarantee acceptance. Other factors include the age and condition of the larvae, the population of nurse bees, the preparation of the starter colony, and the time elapsed before the bar is introduced. Clean the tool after use, remove any residue without bending the tip, and leave it to dry in a sheltered place. Do not use a flame, boiling water or solvents on the plastic body unless specifically authorised to do so.
| Reference | QB01-7 |
|---|---|
| Type | Manual grafting tool |
| Body | Plastic |
| Use | Manual grafting into queen cups |
Data sheet

check_circle
check_circle