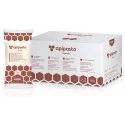
 Apipasta with vitamins 15kg
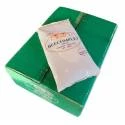 Beecomplet® Spring 14Kg
 Beekeeper suit with round veil
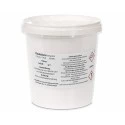 Oxalic acid 1kg
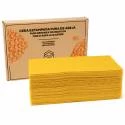 Beeswax Foundation 5kg
 Fresh royal jelly 20g
 Classic honey jar 1kg comb-lines TO77 - Pack of 16 units
 Promotor L Apis 1 litre


 Share in WhatsApp
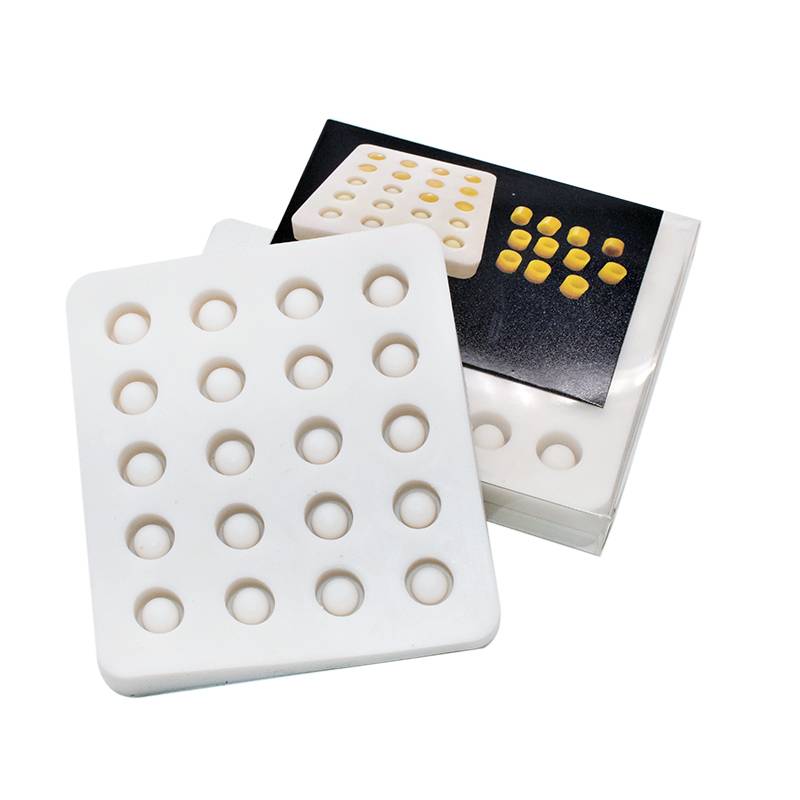
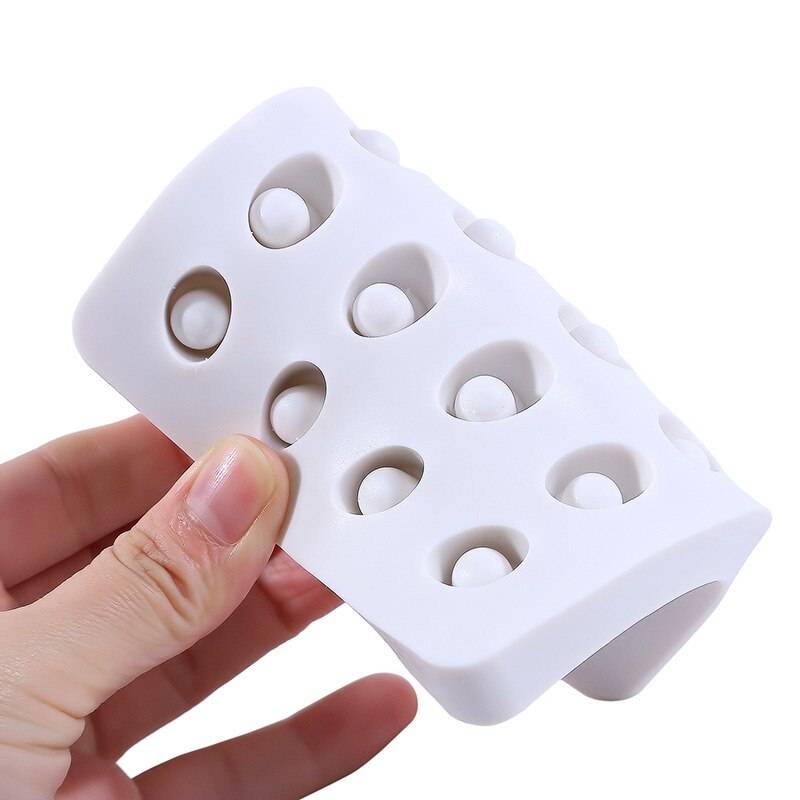
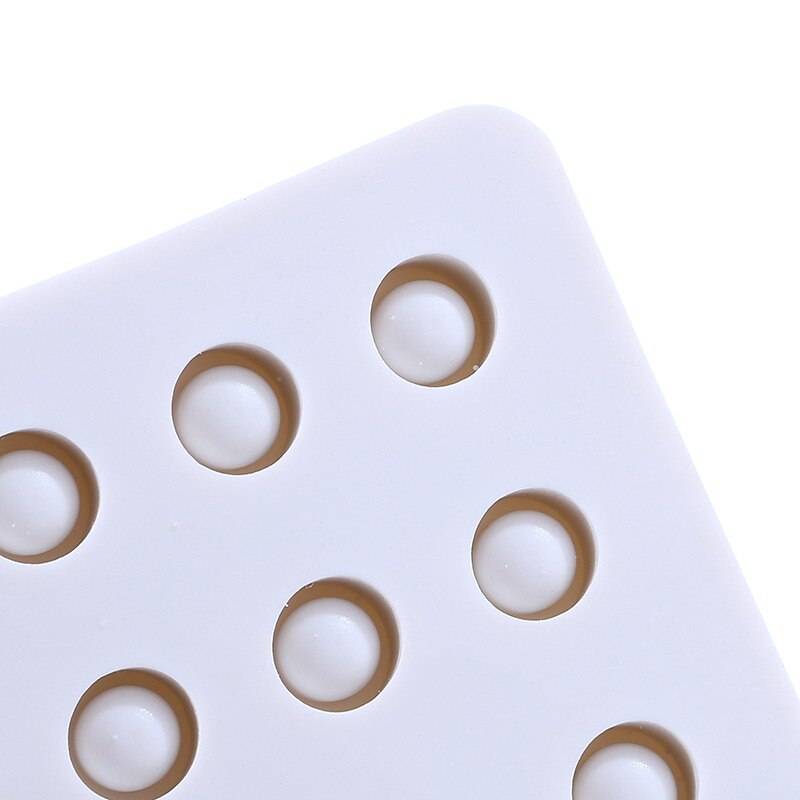
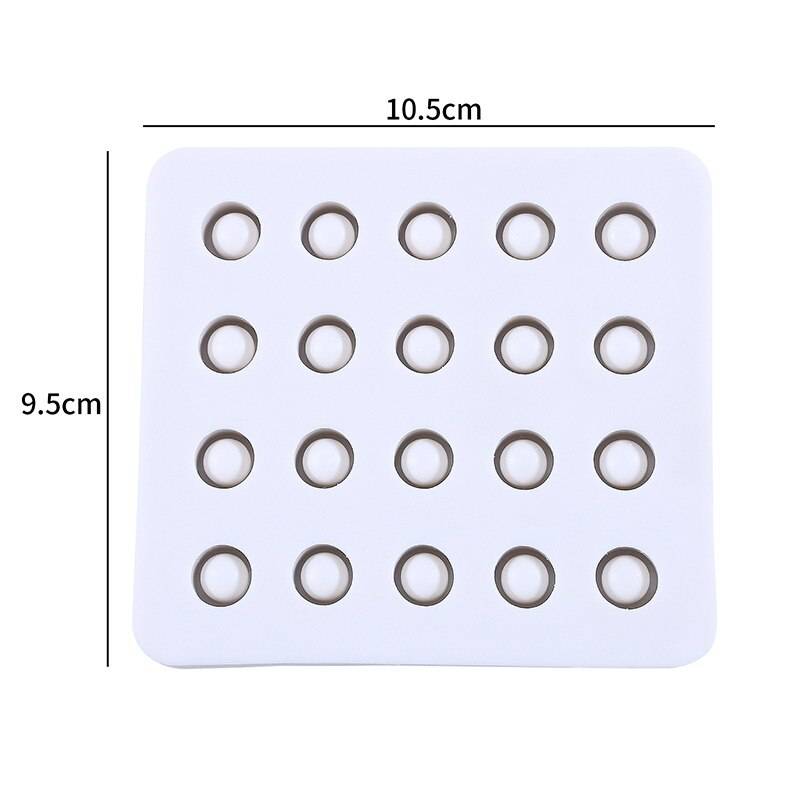
Silicone mould for producing 20 beeswax queen-cell cups in one batch for grafting and queen rearing.
It provides a repeatable shape from your own wax, but results still depend on clean material, controlled heating and patient release; the mould alone cannot determine colony acceptance.
Release method: allow the wax to cool fully, then flex the mould around each cup. Pulling warm wax or trying to lift the whole batch together makes breakage more likely.
01 · PREPARATION
Prefer clean, settled cappings wax with no visible debris. Beeswax normally melts at about 61–65°C: heat it in a controlled way, without a direct flame, and use only enough heat to obtain a fluid pour that fills the cavities. Keep the mould clean, dry and level on a stable surface.
02 · FILLING
Pour gradually to avoid overflow and let the wax settle. Do not add water, soap or release agents that could leave residues on the cups. Before making a full batch, test a few cavities to establish a suitable wax temperature, fill quantity and cooling time.
03 · RELEASE AND USE
Once fully cold, flex the silicone around each cavity and lift the cup without twisting it. Reject cracked or misshapen pieces. A small amount of molten wax is sufficient to attach each cup to a queen-rearing bar; grafting and normal management of a strong cell-building colony then remain essential.
04 · BEFORE YOU BUY
The mould makes 20 cups per batch, but this listing does not document their internal diameter or identify a version specifically for Africanised honey bees. Do not assume universal fit: check compatibility with your grafting tool, bar and method. Wax, queen-rearing bars and grafting tools are not included.
| Reference | MOLD020 |
|---|---|
| Material | Silicone |
| Capacity | 20 cups per batch |
| Intended material | Clean beeswax |
| Process | Fill, cool fully and release individually |
| Use | Wax cups for queen rearing |
| Not included | Wax, queen-rearing bar or grafting tools |
Data sheet